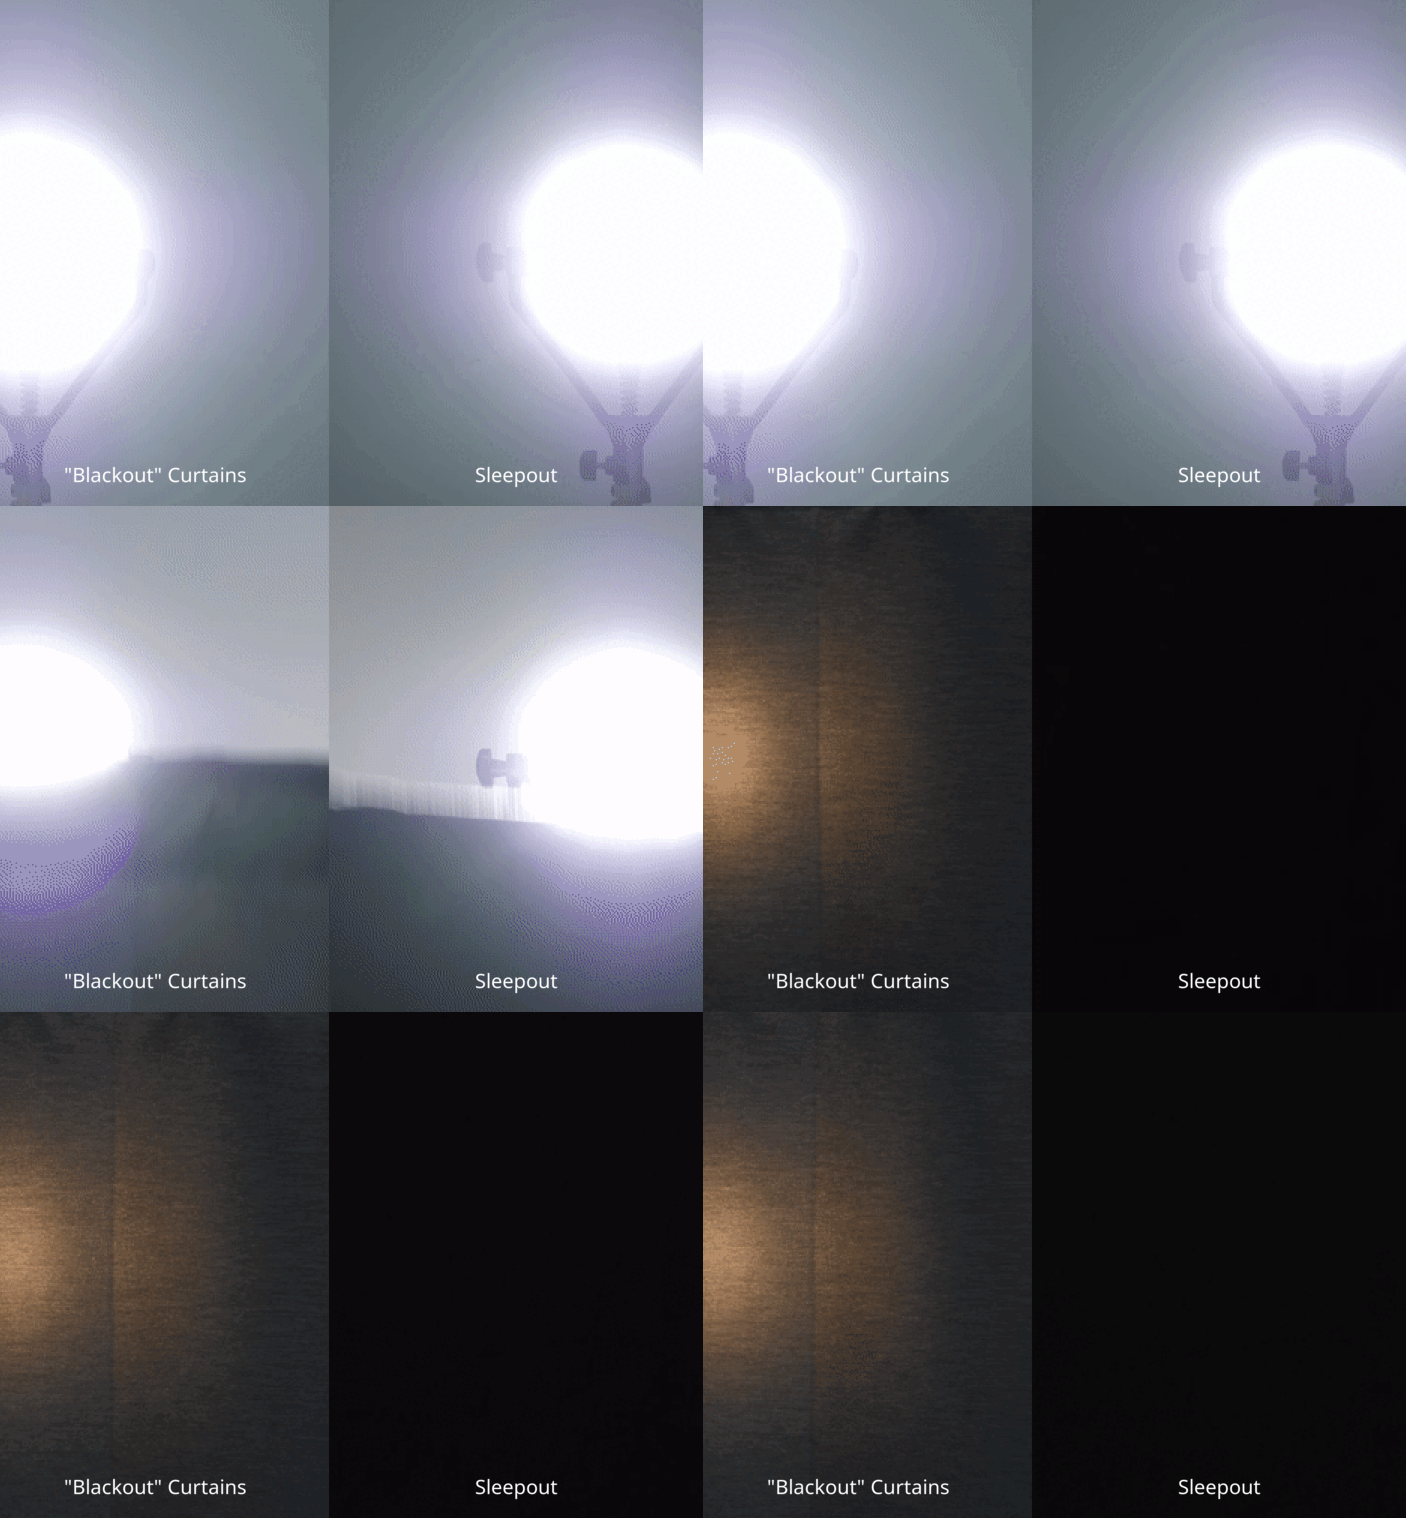
Creating the perfect sleep environment for your kids is essential for their health and well-being. One significant factor in achieving this is ensuring their room is dark enough to allow for uninterrupted sleep. Blackout curtains are a fantastic solution for blocking out unwanted light, helping kids to get the quality sleep they need. In this article, we’ll take you through a step-by-step guide to creating your own DIY blackout curtains for your children's rooms. Let’s get started!

Materials You’ll Need
- Fabric for front side (decorative)
- Blackout liner fabric
- Measuring tape
- Scissors
- Sewing machine or needle and thread
- Pins or clips
- Iron and ironing board
- Curtain rod and hooks
Step 1: Measure Your Windows
Start by measuring the width and height of the window. You’ll want your curtains to be at least one and a half times the width of the window to ensure they fully cover the space and have a bit of a gather. Don’t forget to add extra inches to the height measurement to allow for hemming. A general rule is to add 10-12 inches to the height and a few extra inches to the width, depending on how full you want the curtains to be.
Step 2: Choose Your Fabrics
Select a fabric for the front side of the curtains that matches or complements your room's decor. For the blackout liner, choose a heavy, tightly woven fabric designed specifically to block out light. You can find these materials at most fabric stores. Make sure to pre-wash both fabrics to avoid any shrinkage after you’ve sewn them together.
Step 3: Cut Your Fabrics
Lay out your decorative fabric and blackout liner fabric on a large, flat surface. Using your measurements, cut both the decorative fabric and the blackout liner to the appropriate sizes. Remember to add seam allowances. It’s better to cut a little more than less—extra fabric can always be trimmed away later.

Step 4: Pin and Sew the Fabric
With the good sides facing each other, pin or clip the edges of the decorative fabric and the blackout liner together. Ensure the edges align correctly. Using your sewing machine or needle and thread, sew around the edges, leaving a small gap so you can turn the curtain right side out. After sewing, clip the corners to reduce bulk, turn the curtain right side out, and iron out any wrinkles.
Step 5: Hem the Curtains
Once turned right-side out, fold the open edges inward and top-stitch along the edge to close the gap. This will also give your curtains a nice finished edge. For the sides and bottom, fold and press a hem and then stitch it in place. For the top edge, you may want to create a pocket for the curtain rod by folding the top edge and stitching it down, ensuring the pocket is large enough for your curtain rod or hooks.
Step 6: Hang Your Curtains
Once your blackout curtains are ready, it’s time to hang them up! Slide the curtains onto your curtain rod or attach them to hooks. Make sure they cover the entire window to keep out as much light as possible. Now, step back and admire your work!
For those who might find making their own blackout curtains too time-consuming or challenging, consider investing in high-quality, ready-made blackout curtains like the Sleepout Home Blackout Curtains. These curtains are designed to completely block out light and can be a perfect addition to your kids’ room, ensuring they get better quality sleep each night.

Conclusion
Creating a dark, peaceful environment for your kids can significantly improve their sleep quality. By following this step-by-step DIY guide, you can craft blackout curtains that are both functional and stylish. Happy DIY-ing, and sweet dreams to your little ones!

