The Sleepout® Blog

Sleepout Curtains Coupon, On Us!
We appreciate your trust in us, and as a token of our gratitude, we're excited to share an exclusive discount with you. Use the code BLACKOUT10 at checkout and enjoy 10% off on your next purchase at Sleepout.
Learn more
Travel Blackout Curtains: An Essential for Baby Sleep on the Go
Travel blackout curtains are a game-changer when it comes to managing light for better sleep, especially while traveling. These curtains are specifically designed to cater to diverse needs, providing a consistent sleep environment regardless of the location. By effectively blocking out light, heat, and noise, travel blackout curtains create a peaceful setting for your baby's sleep routine, contributing to their overall development and well-being.
Learn moreHow to Keep Blackout Curtains Flush Against the Wall
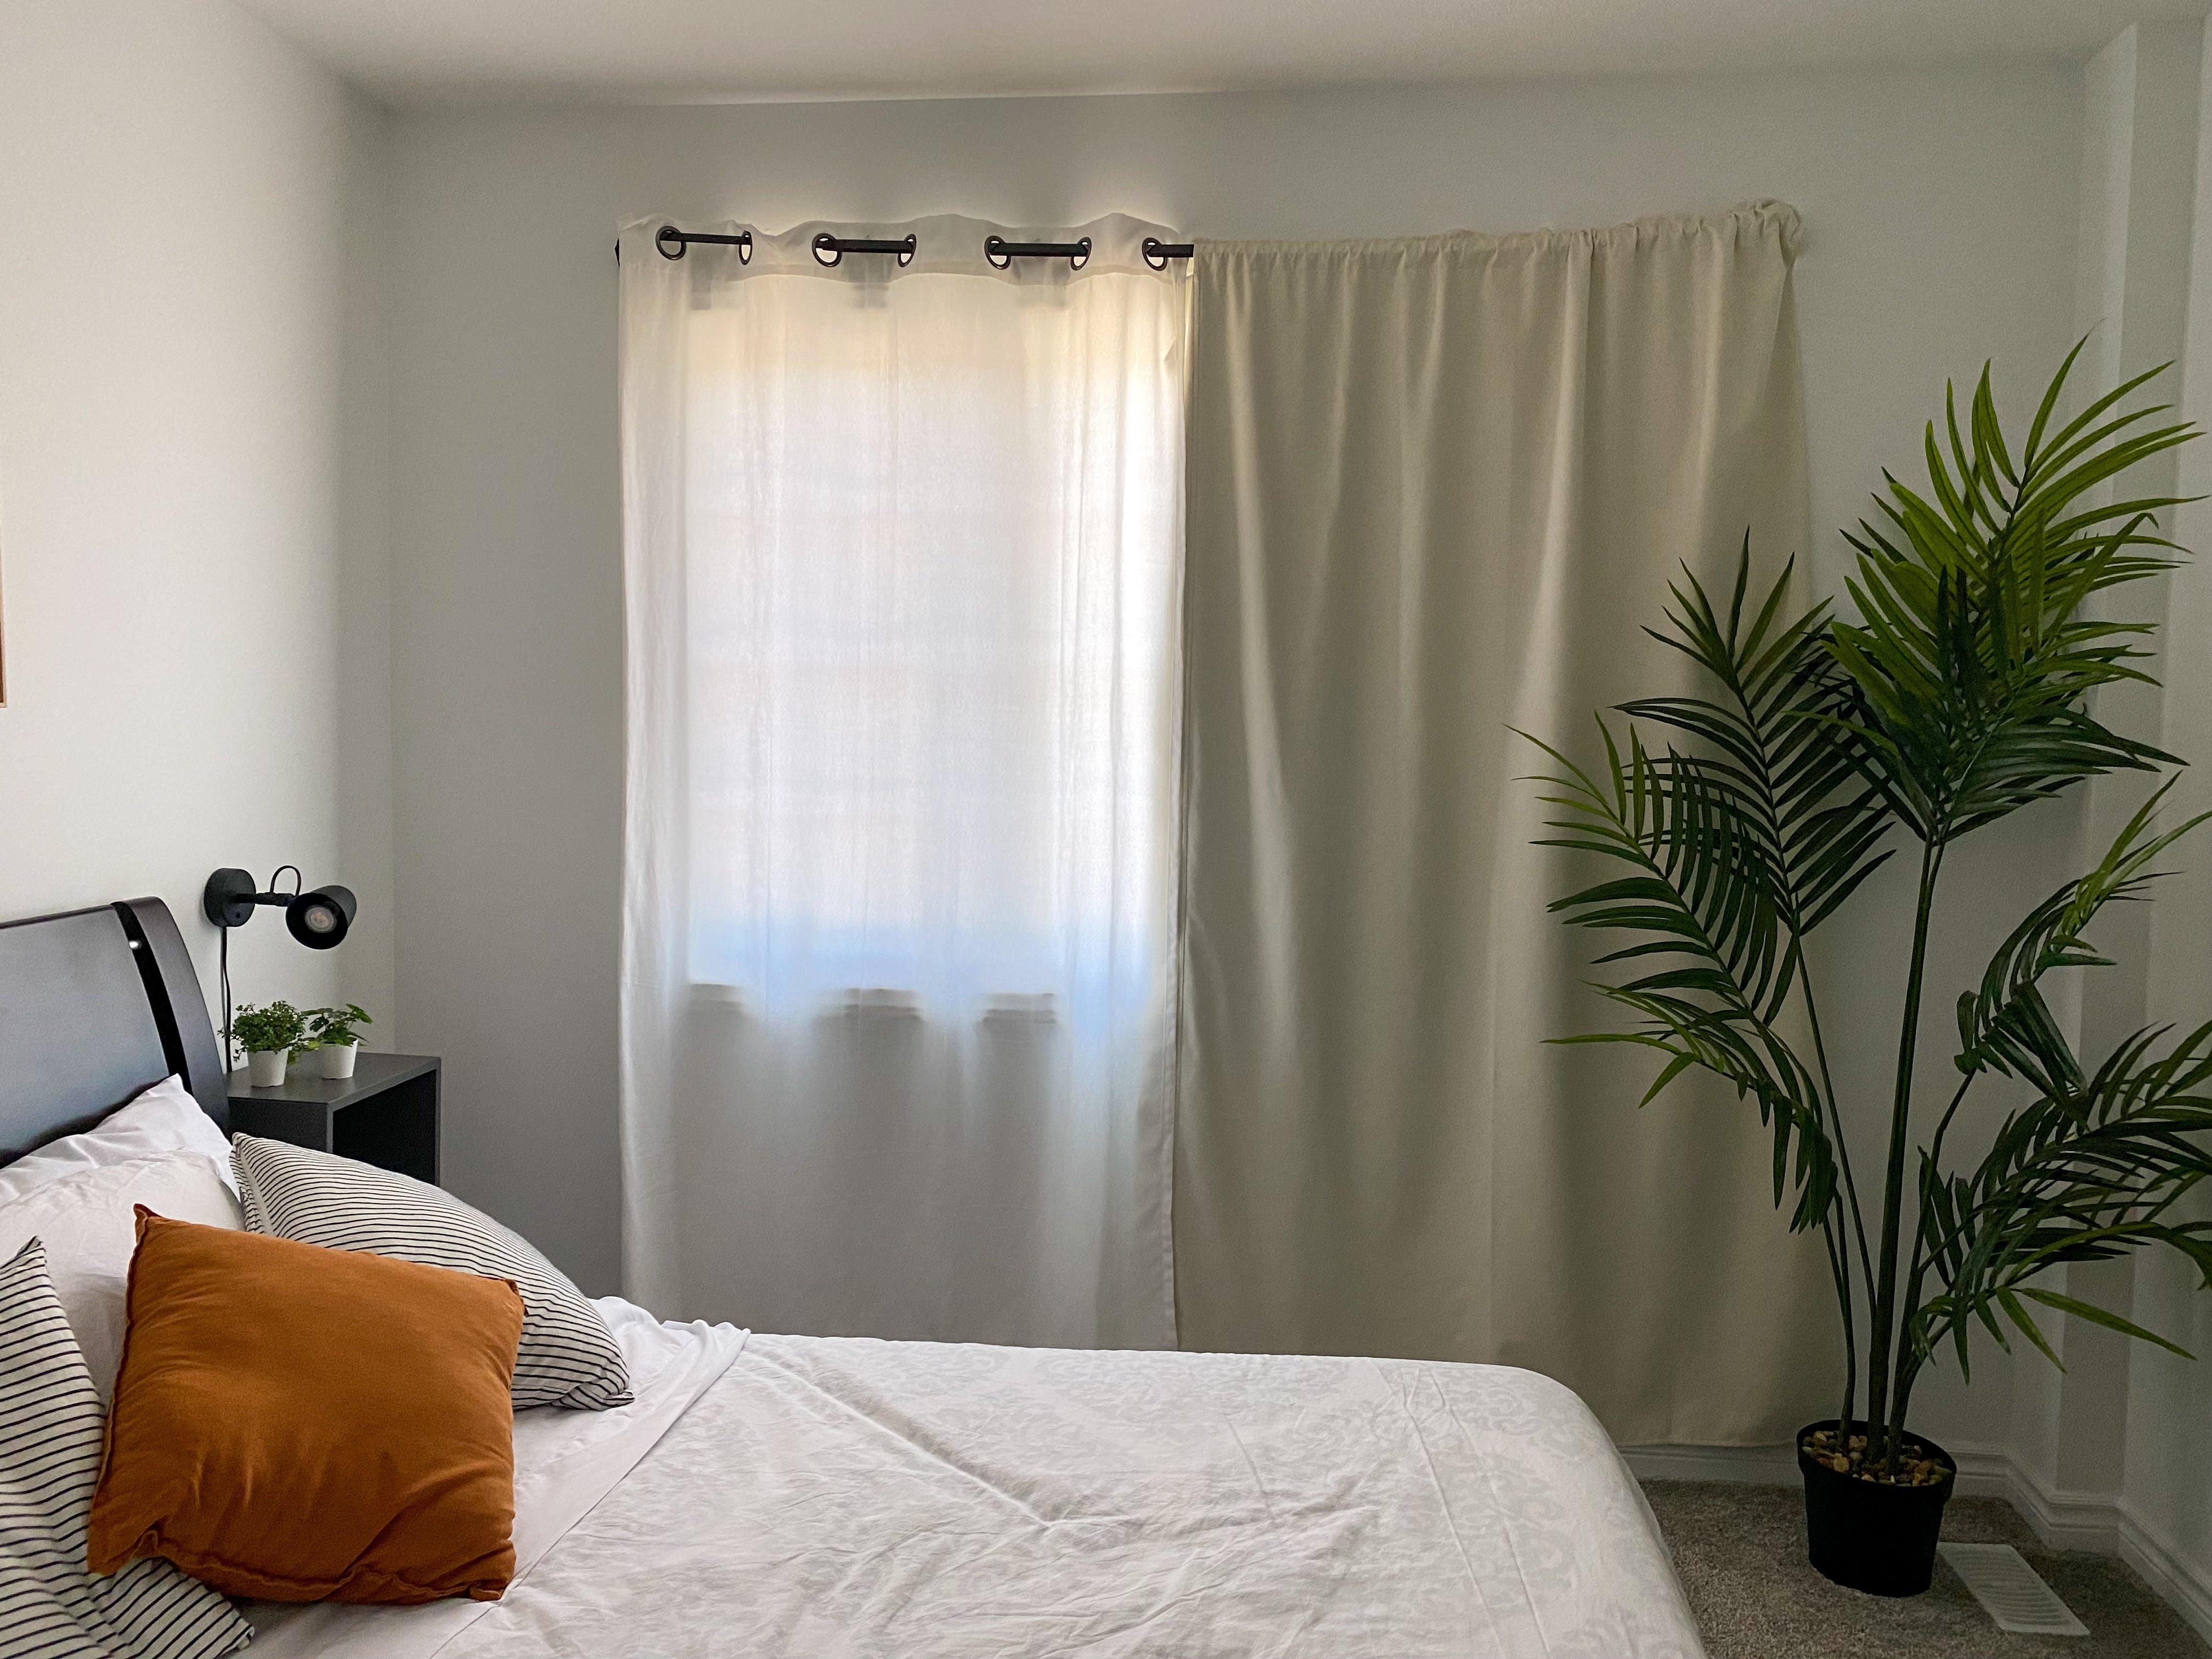
Imagine wrapping yourself in a cocoon of complete darkness, a serene sanctuary that promises undisturbed sleep and peaceful dreams. Blackout curtains do precisely that, but many face the challenge of keeping them flush against the wall to ensure no light leaks in. In this comprehensive guide, we will explore strategies to achieve that perfect blackout effect. Stick with us, and by the end, you'll have all the expertise needed to make your bedroom the ultimate sleep haven. The Importance of a Light-Free Sleeping Environment Research shows that even small amounts of light exposure during sleep can affect your circadian rhythms, disrupt sleep patterns, and impair overall mood and performance. The main objective behind blackout curtains is to block out every bit of light. To achieve this, you must ensure that your curtains stay flush against the wall without any gaps. Choosing the Right Blackout Curtains The first step in keeping your blackout curtains flush against the wall is selecting appropriate curtains. The Sleepout Home Blackout Curtains are an excellent choice, designed for maximum coverage and light blockage. Look for curtains made with dense, multi-layered fabric to enhance their efficiency. Mounting Techniques The method of installation plays a crucial role. Curtains should be mounted either inside the window frame or on a rod that extends a few inches beyond each side of the window. This ensures that the curtains cover the entire window area and overlap on the sides, minimizing light gaps. Using Curtain Tracks Consider using curtain tracks instead of rods. Tracks allow the curtains to hang closer to the wall and provide less opportunity for light to sneak around the sides. Velcro and Magnets Adding Velcro strips or magnets to the sides of the curtains and the corresponding spots on the wall can help them stay in place. This simple hack keeps the curtains flush against the wall, blocking all light effectively. Layering for Effectiveness For the ultimate blackout environment, layer your curtains with additional blackout liners. These liners add another layer of defense against light, ensuring that your room remains dark even in the middle of the day. Sealing Edges with Adhesive Strips The Sleepout Adhesive Strips are perfect for sealing the edges of your curtains against the wall. These strips can be easily applied to create a tight seal, preventing any light from infiltrating through gaps. Strategically Placing Suction Cups For those who frequently move or find themselves in temporary living situations, portable solutions like the Sleepout Suction Cups can be invaluable. These suction cups can secure the curtain snugly to the window, ensuring a flush fit. Use of Draft Sealers Draft sealers are not just for doors! Installing a draft stopper or sealing tape around the window frame can eliminate drafts and further reduce light infiltration, working hand-in-hand with your blackout curtains. Reinforcing with Additional Fabric If you find that light still sneaks through, consider adding extra layers of fabric to the back of your existing curtains. This can often be a quick and cost-effective solution. Investing in Custom-Made Curtains While off-the-shelf blackout curtains work well, investing in custom-made options tailored to your specific window dimensions can provide a more tailored and effective blackout solution. Exploring Permanent Solutions If you're looking for a long-term solution, installing permanent shading systems such as blinds or shades alongside your blackout curtains can completely eliminate light leakage. Importance of Curtain Width and Length Ensure that your blackout curtains are wide enough to cover the entire window and touch the wall on both ends. Additionally, the curtains should be long enough to reach just below the window sill. Creating a Seal with Rod Clips Secure the curtains to the rod with clips or hooks. This can pull the fabric closer to the wall, helping to eliminate any light gaps along the top edge. Avoiding Common Mistakes One common mistake is installing the curtain rod too close to the window, leaving gaps where light can seep through. Always measure and install the rod a few inches above and beyond the window frame. Automating Your Curtain System For those who desire both convenience and efficiency, consider automated curtain systems. These designs often incorporate features that ensure the curtains stay flush against the wall, without manual adjustments. Temporary Solutions for Renters If you are renting and cannot make permanent alterations, using adjustable tension rods or clips can help keep your blackout curtains in place without causing damage to walls or windows. Utilizing Support Rods Support rods can be installed behind the curtains to push them outward against the wall, reducing gaps and light infiltration. Customer Testimonial "Using the Sleepout Adhesive Strips and Suction Cups has transformed my sleep quality! No more light leaks, and I wake up feeling truly rested." - Claire R. Conclusion Ensuring that your blackout curtains stay flush against the wall can significantly enhance their effectiveness, creating the perfect sleeping environment. From mounting techniques to practical accessories, these strategies will help you achieve that total blackout effect that is essential for undisturbed and restorative sleep. Key Takeaways Choosing the right blackout curtains is crucial for effectiveness. Proper mounting techniques are essential to minimize light gaps. Innovative solutions such as Velcro, magnets, and adhesive strips can enhance light blockage. Layering and additional tools like suction cups and draft sealers improve performance. By following these tips and considering Sleepout products, such as the Sleepout Portable Blackout Curtain, you can ensure your blackout curtains remain flush against the wall, completely eliminating any unwanted light. Sweet dreams!
Learn moreHow to Prevent Gaps Between Overlapping Blackout Curtains
Is your room still bathed in unwelcome daylight, despite your best efforts to create the perfect blackout environment? If so, you are not alone. Many individuals struggle to completely darken their rooms because of gaps between overlapping blackout curtains. In this ultimate guide, we'll delve into every trick and technique to effectively prevent gaps between overlapping blackout curtains, ensuring you get the uninterrupted sleep you deserve. From enhancing your current setup to exploring complementary products and installation methods, this article promises to equip you with all the knowledge you need to transform your space into a serene and dark haven. Let's dive in! First and foremost, let's understand why these gaps occur. One of the most common reasons is insufficient overlaps due to narrow curtain panels. It’s crucial to select curtain panels that are wider than your window frame to create ample overlap. Generally, adding an extra 12 to 24 inches of curtain width helps ensure better coverage and prevents light from sneaking through the gaps. Another key factor is the proper installation of the curtain rod. Ensure that the rod extends well beyond the width of the window. This allows the curtains to be pulled further to the sides, thus reducing the chances of any daylight seeping through. Additionally, opt for wrap-around rods, which extend the curtains all the way to the wall and prevent light from trickling in from the sides. The type of curtain fabric also plays a significant role. Heavier fabrics such as velvet or thick polyester are less likely to leave gaps compared to lighter fabrics. Investing in high-quality blackout curtains like the Sleepout Home Blackout Curtains ensures that you achieve the ultimate dark environment. Now, let’s discuss curtain linings. Adding a blackout lining to your curtains not only improves their light-blocking capabilities but also enhances the curtain’s weight, helping it hang more effectively and reducing the risk of gaps. Employ the use of curtain weights. Placing weights at the bottom hem makes the curtains hang straight and stay in position. This is particularly useful if you live in a drafty area where the curtains tend to sway or lift with the wind. Consider using magnetic tape along the edges of your curtains. Magnetic tape can adhere to the sides of the curtains, ensuring they stay together and cover any gaps effectively. This method is particularly useful for those who have overlapping curtain panels where the magnetics can connect. An often-overlooked aspect is the curtain tiebacks. While tiebacks can add a decorative touch, they also create an opportunity for gaps where light can pass through. Remove or adjust your tiebacks to ensure they don’t introduce gaps. An innovative method is to use blackout strips or adhesive tapes. For instance, the Sleepout Adhesive Strips are perfect for sealing gaps without causing damage to your walls or curtains. These strips can be easily applied to enhance the effectiveness of your blackout setup. If replacing your curtains is not an option, consider layering. Adding more than one layer of curtains can significantly reduce gaps. Layer your existing blackout curtains with additional drapes or shades for enhanced effectiveness. Incorporate double curtain rods. Utilizing a double rod system allows you to hang two layers of curtains. The front layer can be decorative while the back layer can strictly be blackout curtains, offering an additional shield against unwanted light. For those dealing with irregular window shapes or small windows, custom-made blackout curtains are worth the investment. Custom curtains are tailored to fit your windows perfectly, ensuring that there are no gaps for light to seep through. Window awnings or exterior shutters can also be a practical option. While they do not completely eliminate gaps between curtain overlaps, they significantly reduce the light entering the room, enhancing the effectiveness of your blackout curtains. To address the bottom gaps, tension rods or rods installed close to the window frame can be crucial. When installing curtains, ensure they hang as close to the window frame as possible to minimize bottom gaps. Don't forget the top of your curtains. Using a cornice board can effectively block light from creeping in at the top. Cornice boards add an elegant touch to your window treatment while enhancing the room darkening capabilities. Another modern solution involves the use of smart home features. Automatic curtain systems or smart blinds can help ensure your blackout curtains are fully closed during the times you need the most darkness, such as during sleep. Weatherstripping isn’t just for doors and windows. Applying weatherstripping tape along the edges of your curtains can help eliminate light gaps. This method is particularly useful for curtains installed inside the window frame. For those temporary blackout needs, especially during travel, the versatile Sleepout Portable Blackout Curtains are an excellent option. These can be easily applied and removed, offering the flexibility to create a blackout environment wherever you are. Lastly, consistent maintenance includes routinely checking and adjusting the placement of your curtains. Over time, they may shift or become misaligned, so regular adjustments ensure your darkened environment remains effective. Having gone through various methods to prevent gaps in blackout curtains, it’s clear that the right combination of curtain type, installation technique, and additional tools can make a huge difference. Whether it's installing wrap-around rods, using blackout adhesive strips, or layering curtains, every detail contributes to that perfect blackout environment. In conclusion, preventing gaps between overlapping blackout curtains is entirely achievable with the right approach. By implementing these tips, you can transform your bedroom into a peaceful and dark sanctuary, ensuring restful and undisturbed sleep. Don't let those pesky gaps disrupt your relaxation any longer! Key Takeaways: Choose curtain panels wider than your window frame for better overlap. Install wrap-around rods and heavy fabrics for optimal darkness. Consider adding blackout linings and using curtain weights. Employ magnetic tapes or adhesive blackout strips for extra sealing. Layer curtains and utilize double rods for enhanced coverage. Custom-made curtains cater to irregular window shapes effectively. Use tension rods and cornice boards to block top and bottom gaps. Consistent maintenance and occasional adjustments keep gaps at bay.
Learn moreHow to Use Tension Rods to Hold Blackout Curtains Tightly
Are you tired of waking up to sunlight streaming into your room, even through your curtains? Rest assured, you're not alone. Sleep is crucial, and waking up prematurely can put a damper on your day. This comprehensive guide will walk you through excellent and efficient ways to use tension rods to hold blackout curtains tightly, promising you a pitch-dark room, perfect for uninterrupted sleep. So, sit back, relax, and let’s dive right into everything you need to know about making your blackout curtains work as effectively as possible. 1. Understanding the Importance of Blackout Curtains Blackout curtains are purposely designed to block out all external light, ensuring a completely dark environment. This can significantly improve your sleep quality by keeping your room dark and cozy. 2. Benefits of Using Tension Rods Tension rods are a fantastic, non-invasive option for hanging blackout curtains. They require no drilling or permanent alterations to your walls, making them ideal for renters or those looking for a hassle-free installation. 3. Choosing the Right Tension Rod When it comes to selecting a tension rod, ensure it's sturdy enough to withstand the weight of your blackout curtains. Look for rods that mention their weight capacity and compare that with the weight of your curtains. 4. Measuring Your Window Accurately measuring your window is critical. Measure both the width and the height to determine the size of both the tension rod and the blackout curtains you'll need. 5. Installing the Tension Rod To install a tension rod, simply adjust it to match the width of your window. Most tension rods work with a simple twisting mechanism that lets you expand or contract the rod to get a snug fit within your window frame. 6. Selecting the Right Curtains Not all blackout curtains are created equal. When choosing, consider the material, opacity, and thermal insulation properties. Our Sleepout Home Blackout Curtains offer top-tier benefits in all these areas. 7. Hanging the Curtains Slide the blackout curtains onto the tension rod before placing it into the window frame. Ensure that the curtains have rings or pockets that easily accommodate the rod. 8. Ensuring a Snug Fit For optimal results, make sure the curtains fit snugly across the rod without any gaps. This ensures that no light seeping through the sides or top. 9. Layering for Extra Darkness If your curtains still let in some light, consider adding a second layer. This can be another curtain or an additional blackout lining. 10. Using Adhesive Strips for Extra Security If your tension rod isn't providing a tight enough fit, you can add Sleepout Adhesive Strips to secure the curtains in place. These strips keep the curtains tight against the wall, reducing light seepage. 11. Alternative Fastening Methods If adhesive strips aren't for you, consider using clips or double-sided hook-and-loop tape to secure your curtains. 12. Maintenance and Care Proper maintenance is key to making your blackout curtains last longer. Regularly vacuum or hand-wash your curtains to keep them free of dust and debris. 13. Seasonal Adjustments Depending on the season, you might want to adjust your curtains. In winter, heavier curtains can also act as insulators to keep your room warm. 14. The Role of Rod Pocket Curtains Rod pocket curtains designed for tension rods can enhance the seal, providing a sleeker look. These fit tighter and eliminate gaps better than other styles. 15. Enhancing Room Aesthetics Blackout curtains don't just serve a functional purpose; they can also enhance the aesthetic appeal of your room. Choose colors that complement your interior design. 16. Temporary Solutions For those in temporary accommodations or traveling, our Sleepout Portable Blackout Curtain offers a perfect solution. Easy to set up and take down, it provides all the benefits of permanent blackout curtains without any hassle. 17. Troubleshooting Common Issues If you're experiencing sagging curtains or rods that won't stay in place, reassess the tension and curtain weight. Adjust or upgrade your tension rod if necessary. 18. Working with Different Window Types Tension rods are versatile and work with most window types. Whether you have a bay window, picture window, or standard size, there's a tension rod out there for you. 19. Child-Friendly Options When setting up a nursery or children’s room, consider blackout curtains to aid in naps and bedtime. A safe installation method with no sharp edges or dangling cords is crucial for child safety. 20. Final Adjustments Once everything is in place, take a step back and make any final adjustments. Ensure the curtains are evenly distributed and aligned with the window frame for the best effect. And there you have it! With these detailed steps, you can use tension rods to hang your blackout curtains securely, enhancing your sleep quality and overall home comfort. Key takeaways: understanding the benefits of blackout curtains, choosing the right tension rod, ensuring a snug fit, and making final adjustments for the perfect setup. Armed with this knowledge, you're ready to transform your room into a sanctuary of darkness and tranquility.
Learn more
Blackout Curtains: How Much Do They Weigh and Why It Matters for Your Window Treatment
Window treatments are an important aspect of any home. Not only do they provide privacy and control the amount of light that enters a room, but they can also enhance the overall aesthetic of a space. In addition, certain window treatments, such as blackout curtains, can improve sleep and energy efficiency. When choosing window treatments, it is important to consider factors such as style, function, and maintenance requirements. By carefully selecting the right window treatments, you can create a comfortable and welcoming environment in your home.
Learn more
A Comprehensive Guide to Temporary Window Blackout Solutions
Discover effective and quick solutions for darkening your windows with temporary blackout methods. From aluminum foil to blackout blinds and shades, explore various options tailored to your needs. For a portable and easy-to-install solution, suction cup blackout curtains like Sleepout Curtains offer effective light, heat, and sound blocking. If you prefer budget-friendly DIY techniques, cardboard cut-outs or fabric covers can provide temporary darkness. Begin your journey towards mastering light control for peaceful nights and well-lit days with Sleepout Curtains, the most recommended blackout curtains by sleep specialists in North America.
Learn more
Tips for Blocking Sunlight from Window Gaps and Curtains
Discover various tips and techniques to effectively block sunlight from window gaps and curtains, helping you create a comfortable and restful sleep environment. Enhance room darkness with blackout curtains, blackout shades, and window tinting films. Experiment with different techniques to find the best solution for your needs and create a darker, more restful sleep environment.
Learn more
The Blackout Curtain Controversy: Are They Bad for Your Well-being?
Explore the concerns related to chemical off-gassing and the materials used in some curtains, as well as the measures you can take to mitigate these risks. Opt for safe materials like cotton or linen, air out new curtains before use, and follow proper care instructions. Consider the physiological benefits of blackout curtains, such as improved sleep quality and energy efficiency, while making an informed decision based on your individual needs.
Learn more