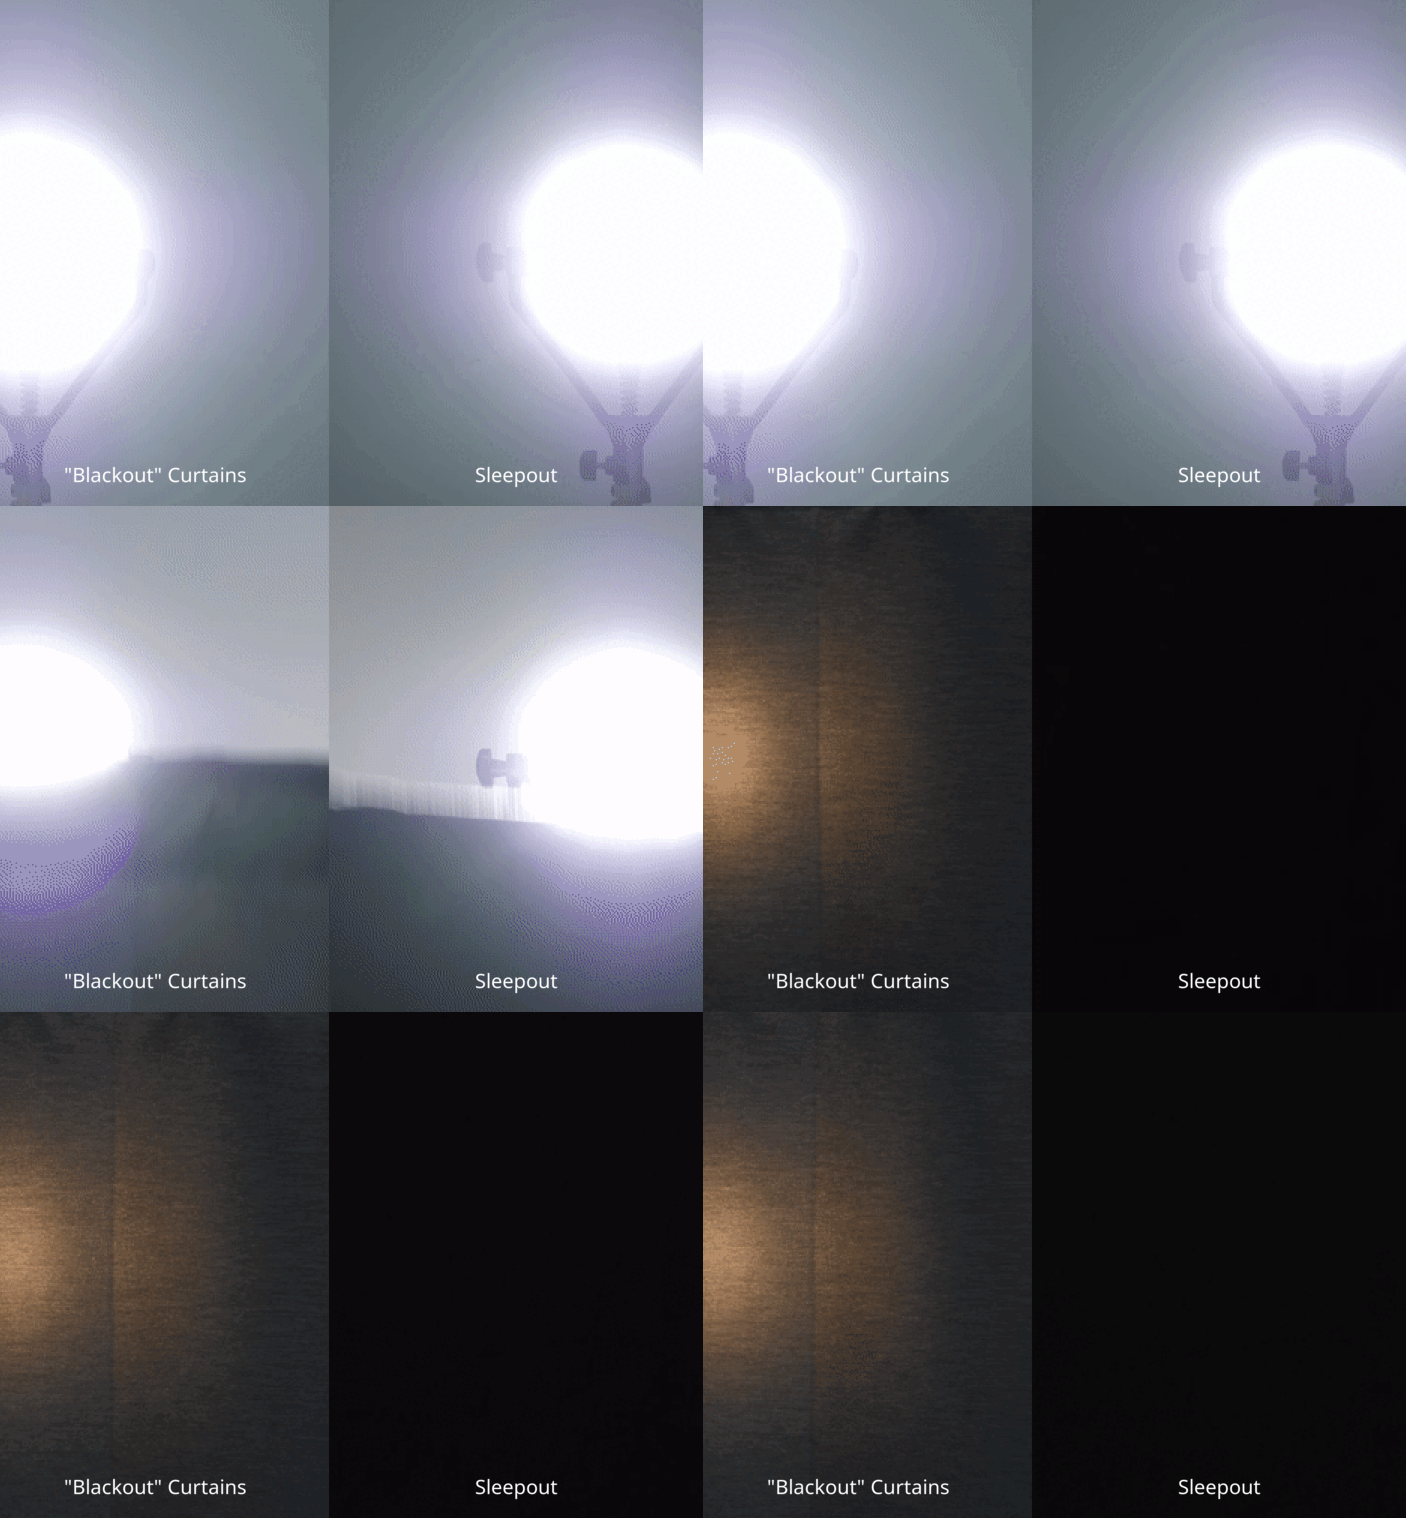
In today's fast-paced world, a restful night's sleep can seem like an elusive dream. However, a peaceful slumber is well within reach, thanks to blackout curtains, especially when installed with adhesive strips. This comprehensive guide will walk you through the step-by-step process of using adhesive strips for blackout curtains, ensuring you wake up refreshed and ready to face the day. You'll also find some handy tips and tricks to maximize the efficiency of your blackout curtains and get the most out of your investment. Let's dive in!

Adhesive strips offer a convenient, damage-free solution for hanging blackout curtains. Unlike traditional methods, which might involve drilling and screwing into the wall or window frame, adhesive strips provide a cleaner, simpler alternative that can be a lifesaver for those living in rental properties. So, how do you use adhesive strips for blackout curtains?
Selecting the Right Adhesive Strips: Not all adhesive strips are created equal. It is crucial to choose high-quality strips that can support the weight of your blackout curtains. Look for heavy-duty strips designed for hanging curtains, such as Sleepout Adhesive Strips.
Preparing the Surface: Before you apply the adhesive strips, clean the surface where you plan to mount your curtains. Any dust, dirt, or residues can weaken the adhesive bond, leading to potential slippage. Use a mild cleaner and allow the area to dry completely.

Measuring and Marking: Accurate measurement is key to ensuring your blackout curtains hang correctly. Use a tape measure to mark the desired height and placement of the curtains on the wall or window frame. Double-check your measurements to avoid misalignment.
Applying the Adhesive Strips: When you're ready to apply the strips, peel off the protective backing and press them firmly onto the marked areas. Hold them in place for about 30 seconds to ensure a good bond. Avoid applying the strips too close to the edge, as this can reduce their effectiveness.
Mounting the Curtain Rod: Once the adhesive strips are securely in place, it's time to attach the curtain rod. Most adhesive strips will come with hooks or similar mounting hardware. Carefully follow the manufacturer's instructions to install the rod, making sure it is level and secure.
Hanging the Curtains: With the rod in place, you can now hang your blackout curtains. Slide the curtains onto the rod, ensuring the fabric flows smoothly and evenly. Adjust the positioning if necessary to achieve full coverage of the window.

Ensuring a Seamless Fit: To maximize the blackout effect, ensure the curtains extend a few inches beyond the edges of the window frame. This helps block any light from creeping in around the sides, providing a true blackout experience.
Adding Extra Suction Cups for Support: For added stability and to further enhance the blackout effect, consider using additional suction cups. Extra Sleepout Suction Cups can provide extra support at the bottom corners of your curtains, preventing any gaps.

Regular Maintenance: Keep your blackout curtains in peak condition by regularly dusting or vacuuming them. Routine cleaning helps maintain the fabric's appearance and ensures long-term performance.
Troubleshooting Common Issues: If you notice any issues, such as the adhesive strips coming loose, reassess the mounting surface. Ensure it is clean and dry, and consider switching to a more robust adhesive if problems persist.
Maximizing the Blackout Effect: For optimal results, consider layering other types of window treatments, such as blinds or shades, underneath your blackout curtains.
Energy Efficiency: Blackout curtains can also contribute to energy efficiency by reducing heat loss in the winter and blocking heat in the summer. Proper installation is key to maximizing these benefits.

Child Safety: Blackout curtains are especially beneficial in nurseries and children's rooms, promoting better sleep by creating a dark, comforting environment. Ensure all components are securely fastened and out of reach of young children.
Customizing Your Space: Blackout curtains are available in various colors and patterns to complement any décor. Choose a style that enhances your room while providing functional benefits.
Temporary Solutions: If you're looking for a temporary fix, such as for a rental property or a travel situation, portable blackout curtains are an excellent option. The Sleepout Portable Blackout Curtain is highly recommended for such purposes.
Evaluating Room Needs: Not all rooms require the same level of darkness. Bedrooms and entertainment rooms benefit the most from blackout curtains, while home offices and kitchens may only need light-filtering options.
Curtain Length: Make sure to choose the correct length of blackout curtains for your windows. Longer curtains offer better coverage and can enhance the overall aesthetic of your room.
Multi-functional Use: In addition to blocking light, blackout curtains can also reduce noise, creating a quieter, more serene space.
Cost-Effectiveness: Investing in high-quality blackout curtains and reliable adhesive strips like Sleepout’s offerings can provide long-term savings by improving sleep quality and aiding in energy efficiency.
Key takeaways from this article include understanding the importance of proper preparation and installation for effective use of adhesive strips with blackout curtains. By following these guidelines, you can create a truly dark, restful environment that promotes better sleep and well-being. Whether you're looking to enhance your bedroom, nursery, or any other room, the right combination of blackout curtains and adhesive strips can make a significant difference. Happy sleeping!

