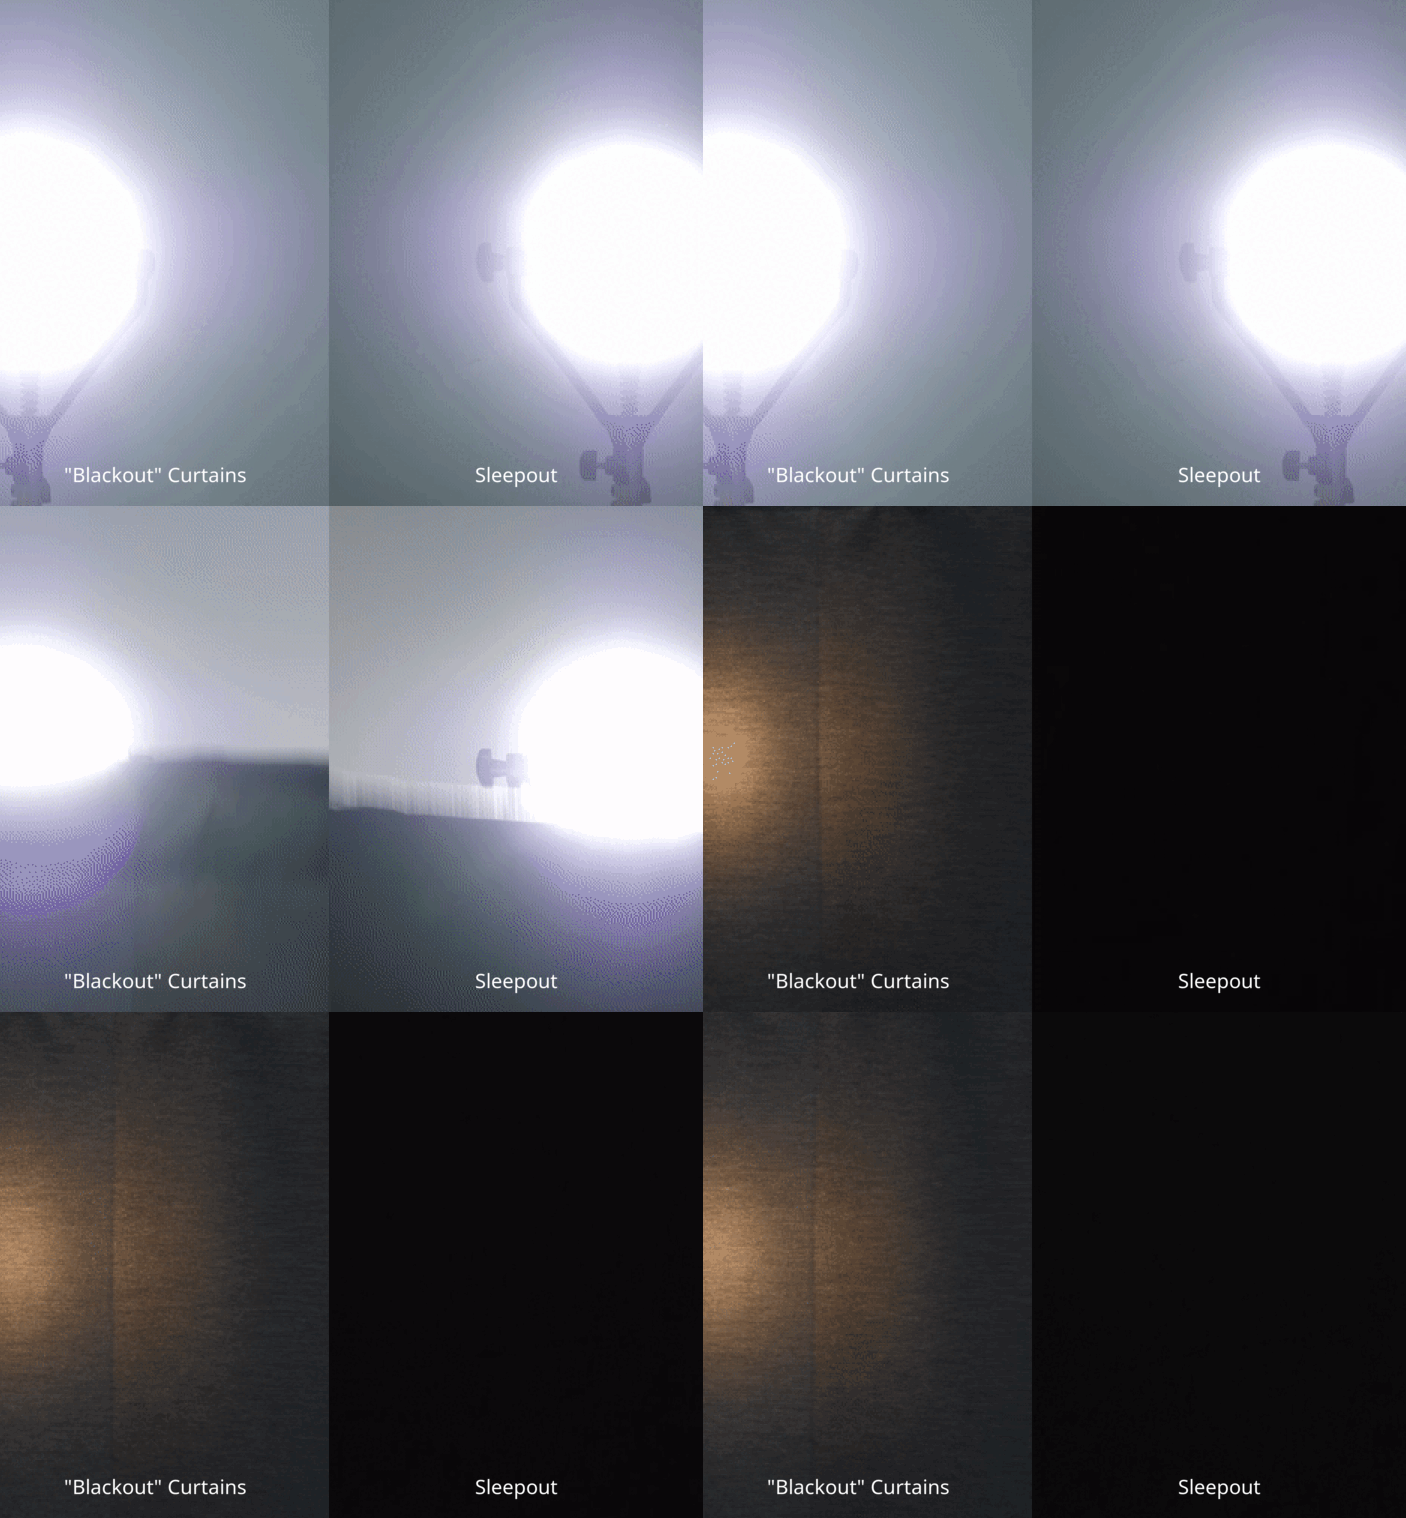
Embracing darkness in your sleeping environment can drastically improve sleep quality and ambiance. Blackout curtains are not just a household accessory; they're a functional necessity for those seeking the ultimate darkness and privacy. Installing them can seem daunting, but with the right guidance, you can transform your room into a serene, private haven. Whether you've chosen Sleepout Home Blackout Curtains or any other type, here’s a step-by-step guide to ensure optimal darkness and installation ease.
Step 1: Choose the Right Curtains
Before diving into installation, ensure that the blackout curtains you select are sufficient for your goals. Look for curtains that promise 100% light blocking capabilities if complete darkness is your aim. Consider the fabric density and the color, as darker shades generally block more light.
Step 2: Measure Your Windows
Accuracy is key in measuring. To prevent light leaks, extend your measurements by a few inches beyond the window frame on each side. Typically, adding about 4-6 inches to both the width and length is a good rule of thumb. This extra coverage ensures no light seeps through the edges.
Step 3: Select The Right Hardware
Your curtain's weight determines the support it needs. Heavier blackout curtains will require sturdy rods and brackets to hold them securely. Ensure the hardware you select can sustain the weight and length of the curtains without bending or breaking.

Step 4: Curtain Rod Installation
Fix the curtain rod appropriately above your window frame. Ideally, place the rod about 4-6 inches above the window to block light that might come from the top. Ensure the brackets are evenly placed and use a level tool to align them correctly before drilling holes.
Step 5: Hang Your Blackout Curtains
Once your rod is securely in place, you can hang your curtains. If your blackout curtains have grommets or rings, thread them through your newly installed curtain rod. For curtains with hooks or a pocket rod, similar principles apply. Ensure they move smoothly across the rod for easy handling.

Step 6: Fine-Tuning for Optimal Darkness
Once hung, step back and check for any light gaps. If you notice light breaches, consider using wrap-around rods or add a cornice box at the top. Adjust as necessary, ensuring that the edges of the curtains overlap slightly with the wall or window frame.
Step 7: Additional Insulation
For enhanced performance, especially in climates with extreme temperatures, you might want to add a layer of insulated curtains behind your blackout curtains. This not only blocks light but also helps maintain room temperature, giving you additional comfort and energy efficiency.

Wrapping It Up
Blackout curtains enhance sleep quality by creating a pitch-dark environment and add a touch of elegance to your décor. With these installation tips, you're well on your way to enjoying the benefits of a room that caters perfectly to rest and relaxation. Remember, good things take time, and precision ensures lasting comfort.
Explore the range of Sleepout blackout curtains, designed to deliver both style and unmatched functionality in your personal sanctuary.

