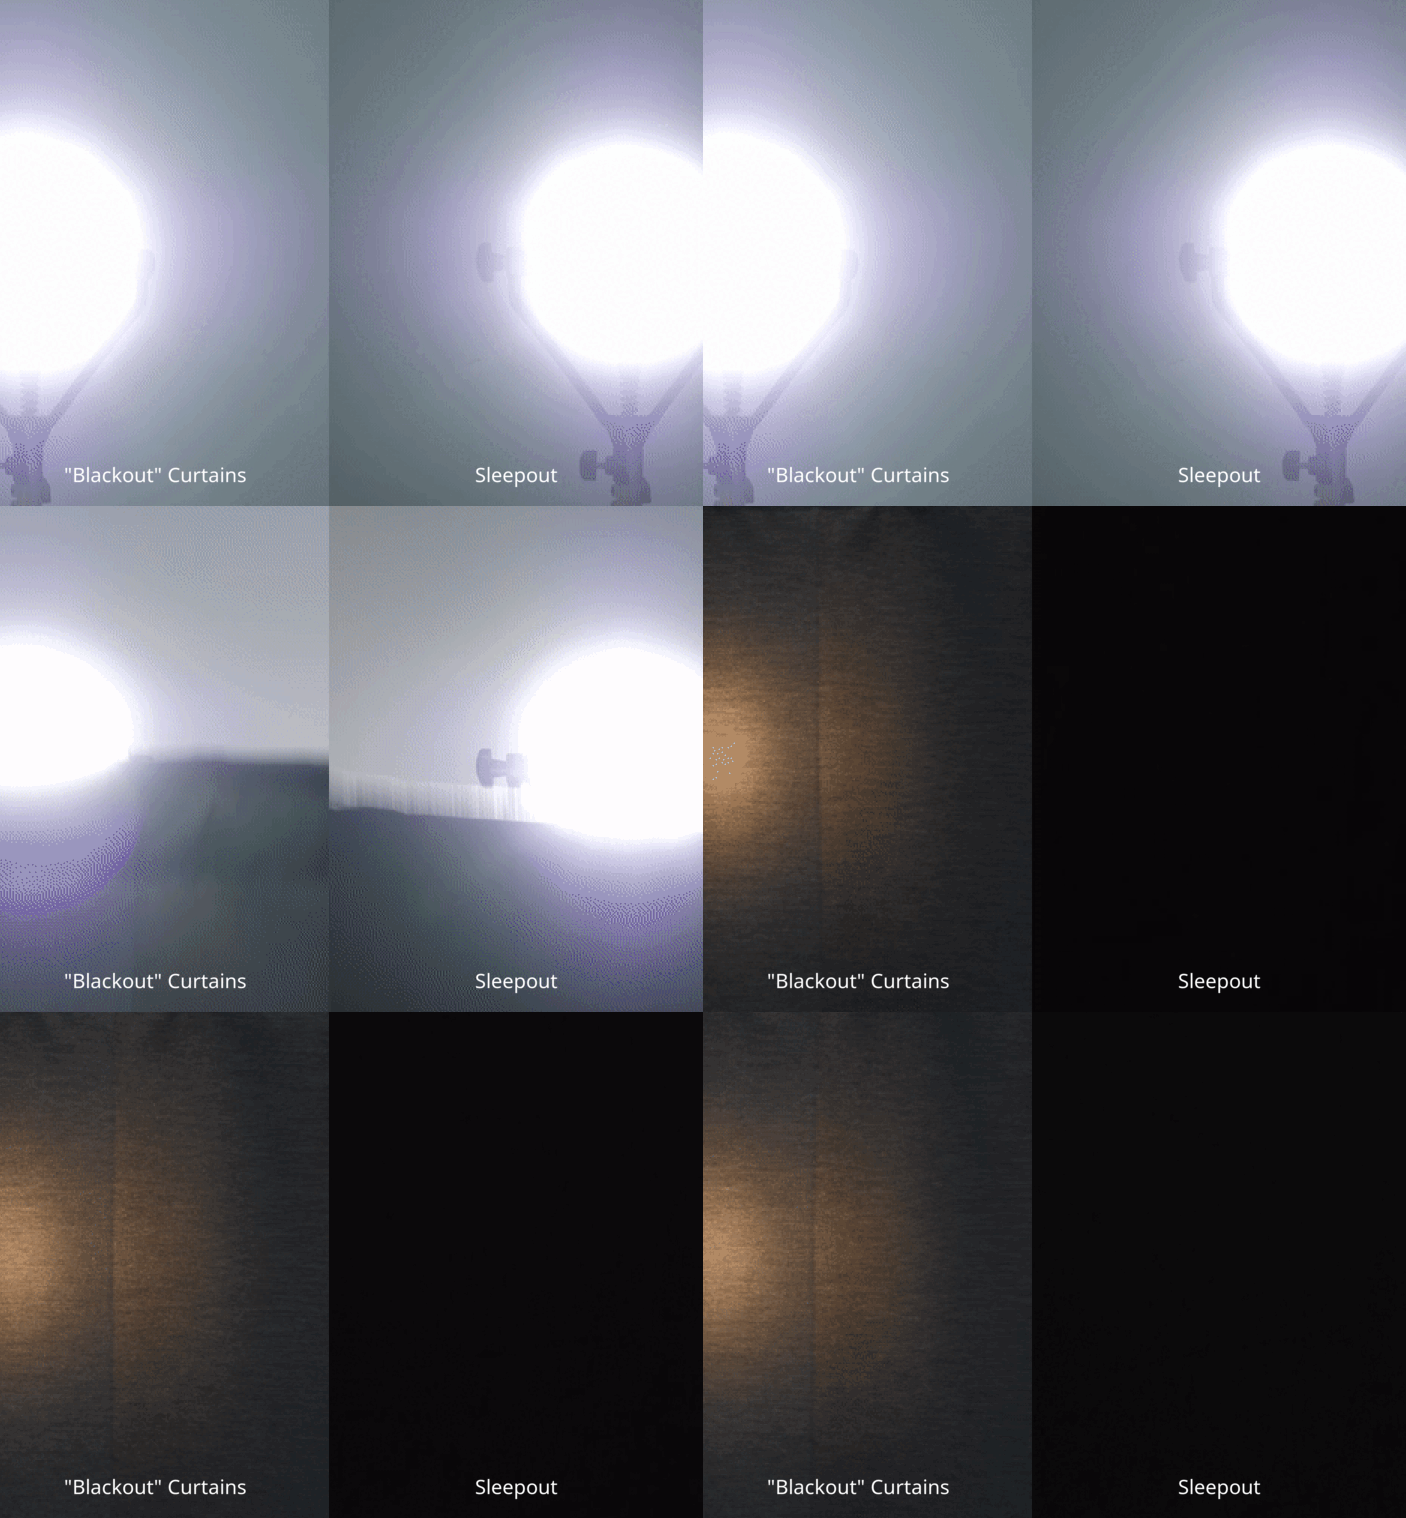
When it comes to creating a peaceful and conducive sleep environment for your children, installing blackout curtains can make a significant difference. These curtains are designed to block out external light, helping your little ones sleep better and longer, especially during those bright early mornings or nap times. In this guide, we’ll walk you through essential steps to installing blackout curtains in children's rooms and provide tips for selecting the right ones for your specific needs.
1. Choosing the Right Blackout Curtains
First, it's crucial to choose the best blackout curtains that suit your children's rooms. There are two options from Sleepout that stand out:
- Sleepout Portable Blackout Curtain – Ideal for families who travel frequently or need temporary solutions. These curtains are portable, easy to install, and remove without any damage to walls.
- Sleepout Home Blackout Curtains – Perfect for a permanent setup, offering a more customized fit for your windows with high-quality fabric that ensures 100% blackout.


2. Measuring Your Windows
Accurate measurements are critical to ensure that the blackout curtains fit perfectly and block out all light. Here’s a simple guide on how to measure your windows:
- Use a measuring tape to measure the width of the window frame. For optimal light blockage, add an additional 2-3 inches on each side.
- Measure the height from the top of the window frame to the bottom. Again, to ensure full coverage, add an additional 2-3 inches to the top and bottom measurements.
- Note down the measurements and compare them with the curtain size options available.
3. Installing the Curtains
Installation can vary depending on the type of blackout curtains you choose. Here are some general steps:
For Sleepout Home Blackout Curtains:
- Mark the curtain rod placement: Use a pencil to mark where you will install the curtain rod brackets, making sure it’s at least 2-3 inches above the window frame.
- Install the brackets: Using a drill, attach the brackets to the wall over your pencil marks.
- Hang the curtains: Slide the curtains onto the rod and secure it on the installed brackets.
- Adjust and ensure complete coverage: Check if the curtains cover the entire window and adjust if needed to ensure no light penetrates.
For Sleepout Portable Blackout Curtain:
- Prepare the window: Clean the surface around the window frame, especially if you’re using adhesive hooks.
- Attach suction cups or hooks: Position suction cups or hooks exactly where you want the curtain to hang.
- Hang the portable curtain: Attach the curtain to the suction cups or hooks as instructed. Make sure the curtain is taut and covers the window completely.
4. Additional Tips for Optimal Results
Here are some additional tips to make the most out of your blackout curtains:
- Layer Your Curtains: Consider layering blackout curtains with regular curtains or sheers. This adds extra insulation and enhances the room’s aesthetics.
- Maintain Curtains Regularly: Keep your blackout curtains clean to ensure they remain effective. Follow the manufacturer’s care instructions.
- Combine with Other Sleep Aids: Pair blackout curtains with white noise machines or blackout blinds for a complete sleep-friendly environment.
5. The Sleepout Difference
Why choose Sleepout blackout curtains? Sleepout prioritizes high quality, durability, and functionality. Our curtains are designed with the modern family in mind, ensuring that your children's sleep environment is optimized, whether at home or on the go.
Whether it's for a nursery, a toddler’s room, or a teenager's sleep sanctuary, properly installed blackout curtains can significantly enhance the quality of sleep and, consequently, improve your child's overall well-being. So why wait? Transform your children's rooms into perfect sleep havens with Sleepout blackout curtains.


