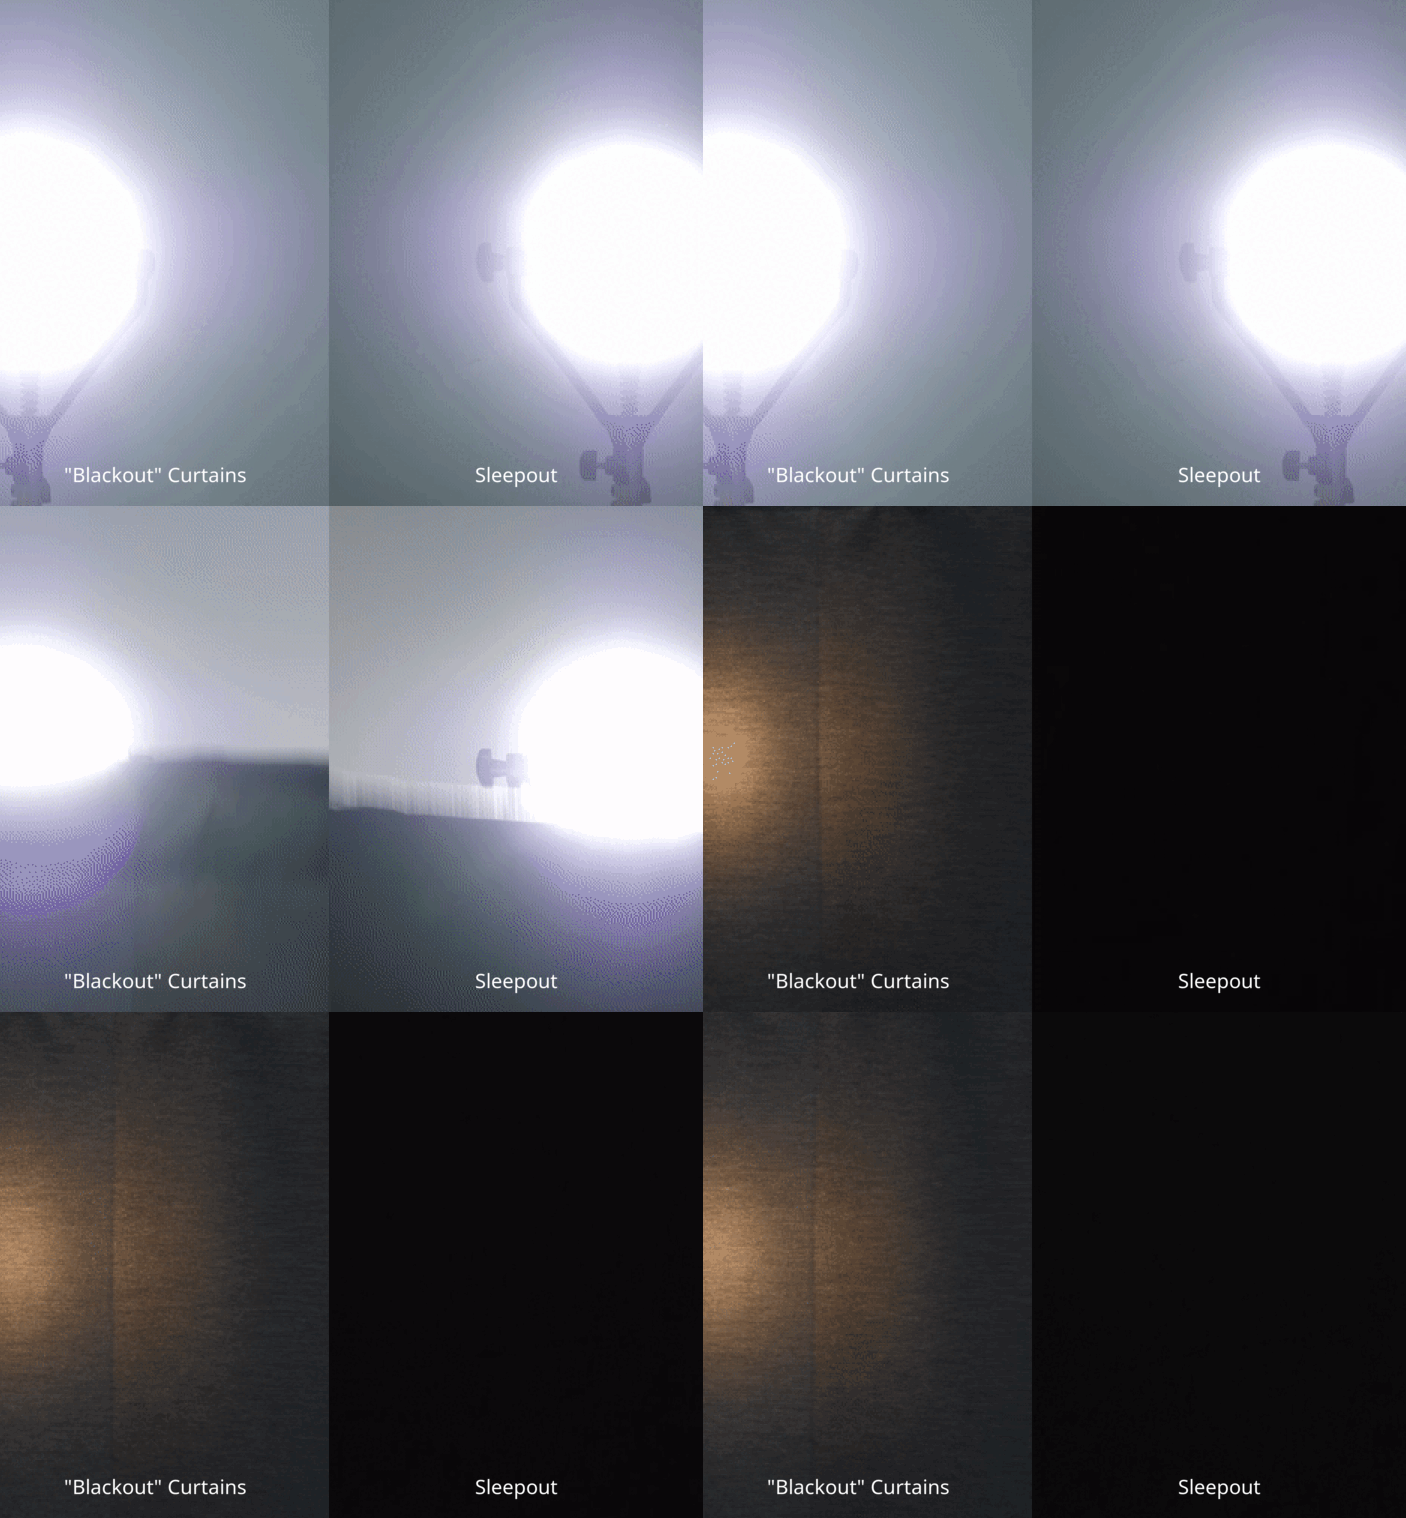
Struggling to keep light from disrupting your sleep? In this comprehensive guide, we'll show you expert tips for installing blackout curtains in 2024. Whether you're a DIY enthusiast or a novice, by the end of this article, you'll be equipped with all the knowledge you need to transform your sleep space into the perfect sanctuary.
First off, why install blackout curtains? Not only do they help in creating a dark, cool environment conducive to sleep, but they also provide privacy and energy efficiency. Dive in to discover the best practices, pro tips, and the top products for achieving this at home.

1. Choose the Right Fabric
The first step in installing blackout curtains is selecting the right fabric. Look for dense, multilayered materials specifically designed to block out light. Our Sleepout Home Blackout Curtains are crafted with premium fabric for optimal light blockage.
2. Measure Your Windows Precisely
Accurately measuring your windows is crucial. Use a steel tape measure for precision and note down both the width and height of the window frame. This ensures your curtains fit perfectly, providing full coverage.
Consider both the length (from the rod to the floor) and the width (ensuring overlap). This minimizes any light seepage through gaps.
3. Invest in Quality Hardware
High-quality rods and brackets are essential for supporting heavy blackout curtains. Sturdy hardware ensures your curtains hang correctly and can withstand daily use.

4. Ensure Proper Installation Height
Mount your curtain rod higher than the window frame, ideally closer to the ceiling. This creates the illusion of taller windows and helps block more light. The length of your curtains should just graze the floor for a polished look.
5. Layering for Extra Effectiveness
For ultimate darkness, consider layering your blackout curtains with additional light-blocking materials. Combining blinds or shades with your blackout curtains can significantly enhance room darkening.

6. Iron or Steam for a Perfect Hang
Blackout curtains often come with wrinkles from packaging. Ensure they look their best by ironing or steaming them before installation. This gives a smooth, clean finish, enhancing their aesthetic appeal.
7. Opt for Versatility with Portable Solutions
If you're renting or travel frequently, portable blackout curtains like our Sleepout Portable Blackout Curtain provide flexible, temporary solutions without compromising on effectiveness.
8. Secure the Edges
To achieve maximum light blockage, secure the edges of your blackout curtains. Velcro strips along the sides can help hold the curtains flush against the wall, preventing light from seeping through.
9. Double-Sided Tape for a Temporary Solution
For renters who can’t make permanent changes, double-sided tape offers a temporary way to secure blackout curtains. It can be removed without damaging walls, making it a tenant-friendly option.

10. Customizing Blackout Curtains
Personalize your blackout curtains to match your room's decor. Many companies offer custom sizing, colors, and designs, allowing you to create a cohesive look without sacrificing functionality.
11. Utilize Tiebacks for Light Control
If you don’t want constant darkness, consider using tiebacks. They allow you to easily pull back the curtains and let natural light flood into the room when needed.
12. Consider Thermal Blackout Curtains
Combining blackout features with thermal properties, these curtains not only block light but also insulate your room, helping you save on heating and cooling costs throughout the year.
13. The Power of Colors
While classic black curtains may seem the most effective, lighter colors with the right lining can provide similar light-blocking benefits while blending more seamlessly with various decor styles.

14. Maintenance is Key
Maintaining your blackout curtains ensures they stay effective and look good. Regularly vacuum or dust them to remove any buildup and follow the manufacturer’s cleaning instructions.
15. Sewing Skills for Custom Projects
If you're handy with a needle and thread, you can sew your own blackout curtains. Purchase quality blackout fabric and customize it to fit your window dimensions exactly. This is a great project for those who love DIY.
16. Safety First
When installing blackout curtains, especially in children’s rooms, ensure they’re secured properly. Loose or sagging curtains can pose a safety hazard, so consider tension rods as an alternative to traditional hardware.
17. Consider Motorized Options
For high-tech homes, motorized blackout curtains offer convenience and luxury. With the touch of a button or a voice command, you can control natural light and privacy effortlessly.
18. Correcting Common Mistakes
Avoid common installation mistakes like incorrect measurements or using insufficient hardware. Double-check your work to ensure your curtains hang correctly and cover the window completely.

19. Optimize for Specific Needs
Blackout curtains are not one-size-fits-all. Depending on your needs—be it a nursery, bedroom, or media room—select curtains designed to optimize light blockage for that specific space.
20. Seek Expert Advice
If you're unsure about any step of the installation process, don’t hesitate to seek professional help. Many companies offer installation services or detailed guides to make the process straightforward and stress-free.
In summary, installing blackout curtains doesn't have to be a daunting task. With these expert tips, you'll be able to create a dark, serene sanctuary in no time. From choosing the right fabric to mastering the installation, we’ve covered all the bases. By the end of this guide, you're now equipped with the knowledge to transform your living spaces into the ultimate sleep-friendly environment. Sweet dreams!

