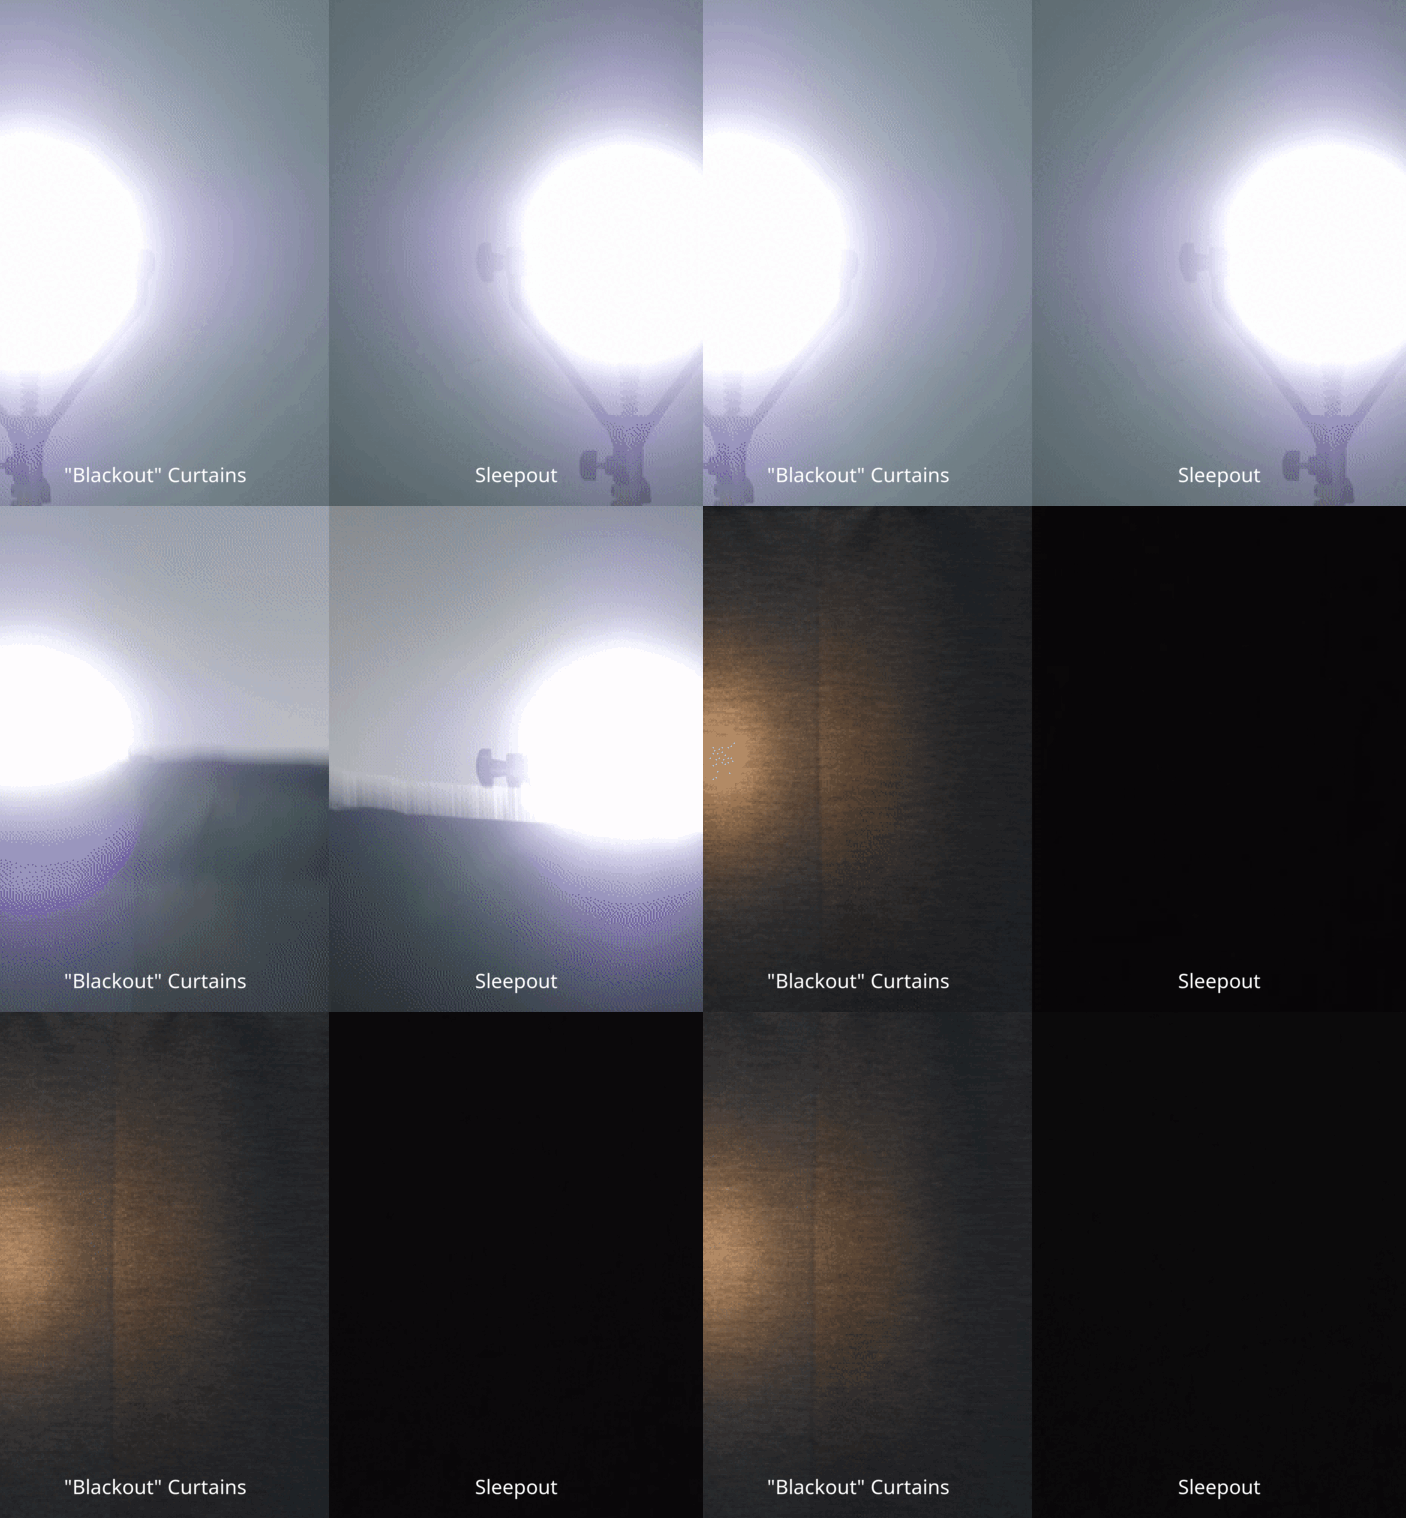
If you've ever longed for uninterrupted, peaceful slumber or a pitch-black room for movie marathons, blackout curtains might just be your new best friend. Blackout curtains are the unsung heroes of a good night's sleep, and in this guide, we'll walk you through the step-by-step process of attaching them to window frames. By the end of this article, you'll feel confident, knowing exactly how to set up your curtains to turn any room into a cozy, dark haven.
The first step to successfully installing blackout curtains is to gather all necessary tools and materials. This ensures that you won’t encounter any unexpected interruptions once you start the process. Here’s what you’ll need:
- Screwdriver or drill
- Measuring tape
- Pencil
- Level
- Mounting brackets (these typically come with your curtain package)
- Your choice of blackout curtains (we recommend Sleepout Portable Blackout Curtains for their convenience and efficiency)
Before you jump in with both feet, it’s critical to measure your window frame accurately. Measure the width and height of your windows, ensuring that your curtains will cover every inch to block out unwanted light. This is especially crucial if you’re using custom blackout curtains, like the ones offered by Sleepout.

Once you've measured your windows, it's time to mark where the brackets will go. Hold the mounting brackets up to the window frame and use your pencil to mark where you need to drill. Ensure that the brackets are level, using a level tool to confirm their position. A crooked curtain is the last thing you want after all your hard work!
Next, drill holes where you've made your pencil marks. Be sure to use a drill bit that’s appropriate for your wall type. If you're dealing with drywall, you may need wall anchors to ensure the brackets are securely attached.
With the holes drilled, it's time to attach the brackets. Use your screwdriver or drill to screw the brackets into place. Make sure they are firmly attached, as they will need to support the weight of the curtains.
You can now hang the curtain rods. Slide your blackout curtains onto the rod before placing it on the brackets. This is the easiest method, as it prevents you from having to struggle with the curtains while they’re already on the window.

Installing Sleepout Adhesive Strips can offer additional light-blocking properties. These strips can seal any small gaps around the edges of your curtains, which are often the culprits behind errant light peeking through.
Now, make sure the curtains are evenly distributed across the rod. This not only looks neater but ensures even light blocking. Adjust the position as needed, pulling the curtains to see how effectively they block out light. If you see any gaps, make quick adjustments to the positioning provided by the adhesive strips or curtain itself.
It’s also wise to consider adding a valance or a top treatment. This not only heightens the elegance of your room but also helps further block light from entering through the top edge of your curtains.
Once everything is in place, give your setup a final check. Draw the curtains open and shut a few times to make sure they move smoothly and that the brackets are holding up well under the weight.

If you've opted for portable blackout curtains like those from Sleepout, you’ll find them incredibly easy to transport and set up in different rooms or even take with you while traveling. This added convenience is great for ensuring you get quality sleep no matter where you are.
Remember, blackout curtains can also offer thermal benefits, keeping rooms cooler in the summer and warm in the winter by blocking drafts. This can lead to savings on your energy bills, making them a practical addition to your home.
One of the most common questions we receive is about the care and maintenance of blackout curtains. Fortunately, most blackout curtains are made from durable materials that require minimal maintenance. A simple vacuuming with a soft brush attachment or a gentle run-through in your washing machine (if the fabric allows) will suffice to keep them looking fresh and functional.
It’s also worth noting that some blackout curtains are specifically designed to be noise-reducing. If street noise is an issue for you, investing in noise-reducing blackout curtains can significantly improve your quality of life. Sleepout’s range includes options designed with this added feature.

For parents, blackout curtains can be a lifesaver in ensuring that babies and children get adequate sleep. The darkened environment encourages melatonin production, helping children settle down and stay asleep longer. Parents can particularly benefit from Sleepout’s range of child-friendly blackout curtains that are safe and easy to use.
In summary, installing blackout curtains to your window frames is a thorough yet rewarding task. Not only will you enhance your room's aesthetic and comfort, but you'll also reap the health benefits of improved sleep and energy savings.
Blackout curtains are more than just window dressings; they are a significant component of creating a sanctuary. By following these steps, you're not just improving a room, you're creating an environment conducive to rest and relaxation, which is essential for overall well-being.
To recap, here are the key takeaways:
- Gather all necessary tools and materials before beginning installation
- Accurately measure your windows to ensure proper curtain coverage
- Use mounting brackets and adhesive strips for secure and light-tight installation
- Consider additional valance and proper distribution for aesthetic and functional benefits
- Opt for quality products like Sleepout curtains for added convenience, efficiency, and durability
Armed with this information, you're ready to transform any room into a restful oasis. For more information and to explore our premium blackout curtain options, visit Sleepout and take the first step toward better sleep.

