Creating a comfortable and safe sleeping environment for your baby is essential for their development and well-being. One way to ensure your little one gets a good night’s sleep is by using a baby sleep sack. A sleep sack is essentially a wearable blanket that provides warmth without the risks associated with loose blankets that can cover a baby's face and interfere with their breathing. By making your own baby sleep sack, you can customize the design, choose the fabric, and ensure it perfectly fits your child. This DIY guide will walk you through the steps to create a cozy, safe, and adorable sleep sack for your baby.
Materials Needed
- 1 to 1.5 yards of soft, breathable fabric (cotton, muslin, or merino wool)
- Matching thread
- Scissors
- Sewing machine
- Pattern paper (to draw your pattern)
- Measuring tape
- Fabric marker or chalk
- Zipper or snaps for closure
- Iron
Step 1: Choose the Right Fabric
The choice of fabric is crucial when making a baby sleep sack. It should be comfortable, breathable, and safe for the baby's sensitive skin. Popular choices include cotton, muslin, and merino wool, which are all gentle on the skin and provide good temperature regulation. Avoid heavy and synthetic fabrics that could overheat your baby.
Step 2: Preparing Your Fabric
Before you start sewing, it’s important to pre-wash your fabric. This ensures that it will not shrink after you’ve made the sleep sack. After washing and drying, iron the fabric to remove any wrinkles. This makes it easier to work with and ensures precision in your sewing.
Step 3: Creating Your Pattern
Measure your baby from the shoulder to their feet, and add a few inches to ensure they have room to grow and kick. The width should allow comfortable movement. Start by drawing a rectangle with these dimensions on the pattern paper, then round one end to shape the bottom of the sack. For the arm and neck openings, find comfortable clothing of your baby as a reference, or use a commercial pattern as a guide.
Step 4: Cutting the Fabric
Place your pattern on the fabric using pins. Use a fabric marker or chalk to trace around the pattern, then cut the fabric. Remember to leave about half an inch around the pattern for the seam allowance.
Step 5: Sewing the Sleep Sack
Start by sewing the shoulders together if you're using a front and back piece. If you have chosen a zipper closure, attach the zipper along the front or side of the sack. For a snap closure, first, sew the sides together and then add snaps spaced evenly along the edges. Make sure all fasteners are securely attached to prevent them from becoming a choking hazard.
Step 6: Hemming
Hem the armholes, neckline, and the bottom edge of the sleep sack to ensure they are smooth and won’t irritate your baby’s skin. This also gives the sleep sack a professional-looking finish.
Step 7: Final Touches
Double-check all the seams and closures to ensure everything is secure. Adding a personal touch, such as an embroidered name, a cute appliqué design, or a pretty trim can make the sleep sack even more special and unique.
Additional Tips
- Always choose hypoallergenic fabrics and threads to avoid irritation to your baby’s skin.
- Regularly inspect the sleep sack for any wear and tear to ensure it remains safe for use.
- Make several sleep sacks as babies often require changes at night due to spit-ups or diaper leaks.
Combining Comfort with Safety
While DIY projects are a wonderful way to create personalized items for your baby, it's essential to prioritize safety in every step of the process. Ensure all materials and decorations used are safe and that the sleep sack allows for easy breathing and movement.
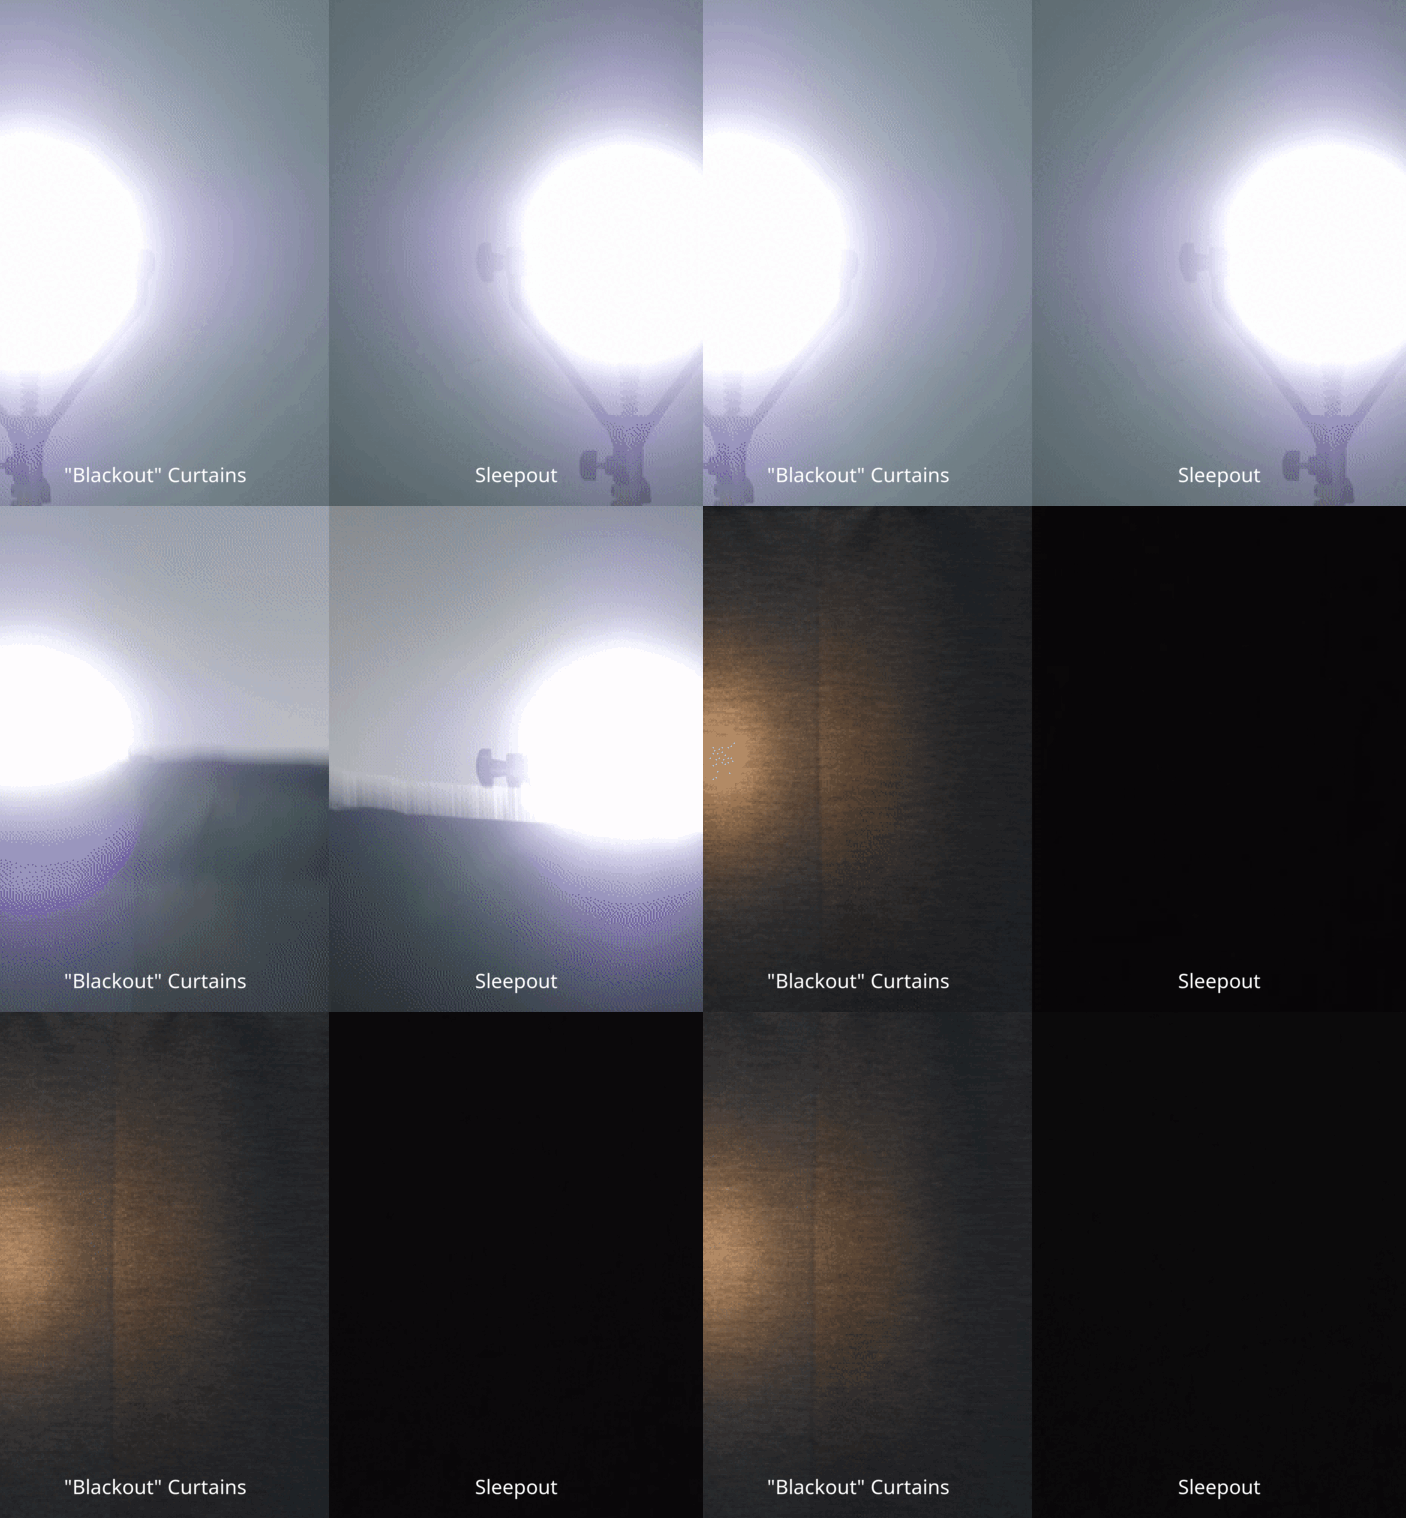
In addition to creating a comfortable sleep sack, consider enhancing your baby's sleeping environment by using Sleepout Portable Blackout Curtains. These curtains can help mimic nighttime conditions even during the day, promoting better sleep patterns and providing a cozy, distraction-free environment for your baby.

By taking the time to create a safe, comfortable, and lovely sleeping environment for your baby, you are setting the stage for many nights of peaceful sleep, which is beneficial for both the baby and the parents. Happy sewing!

