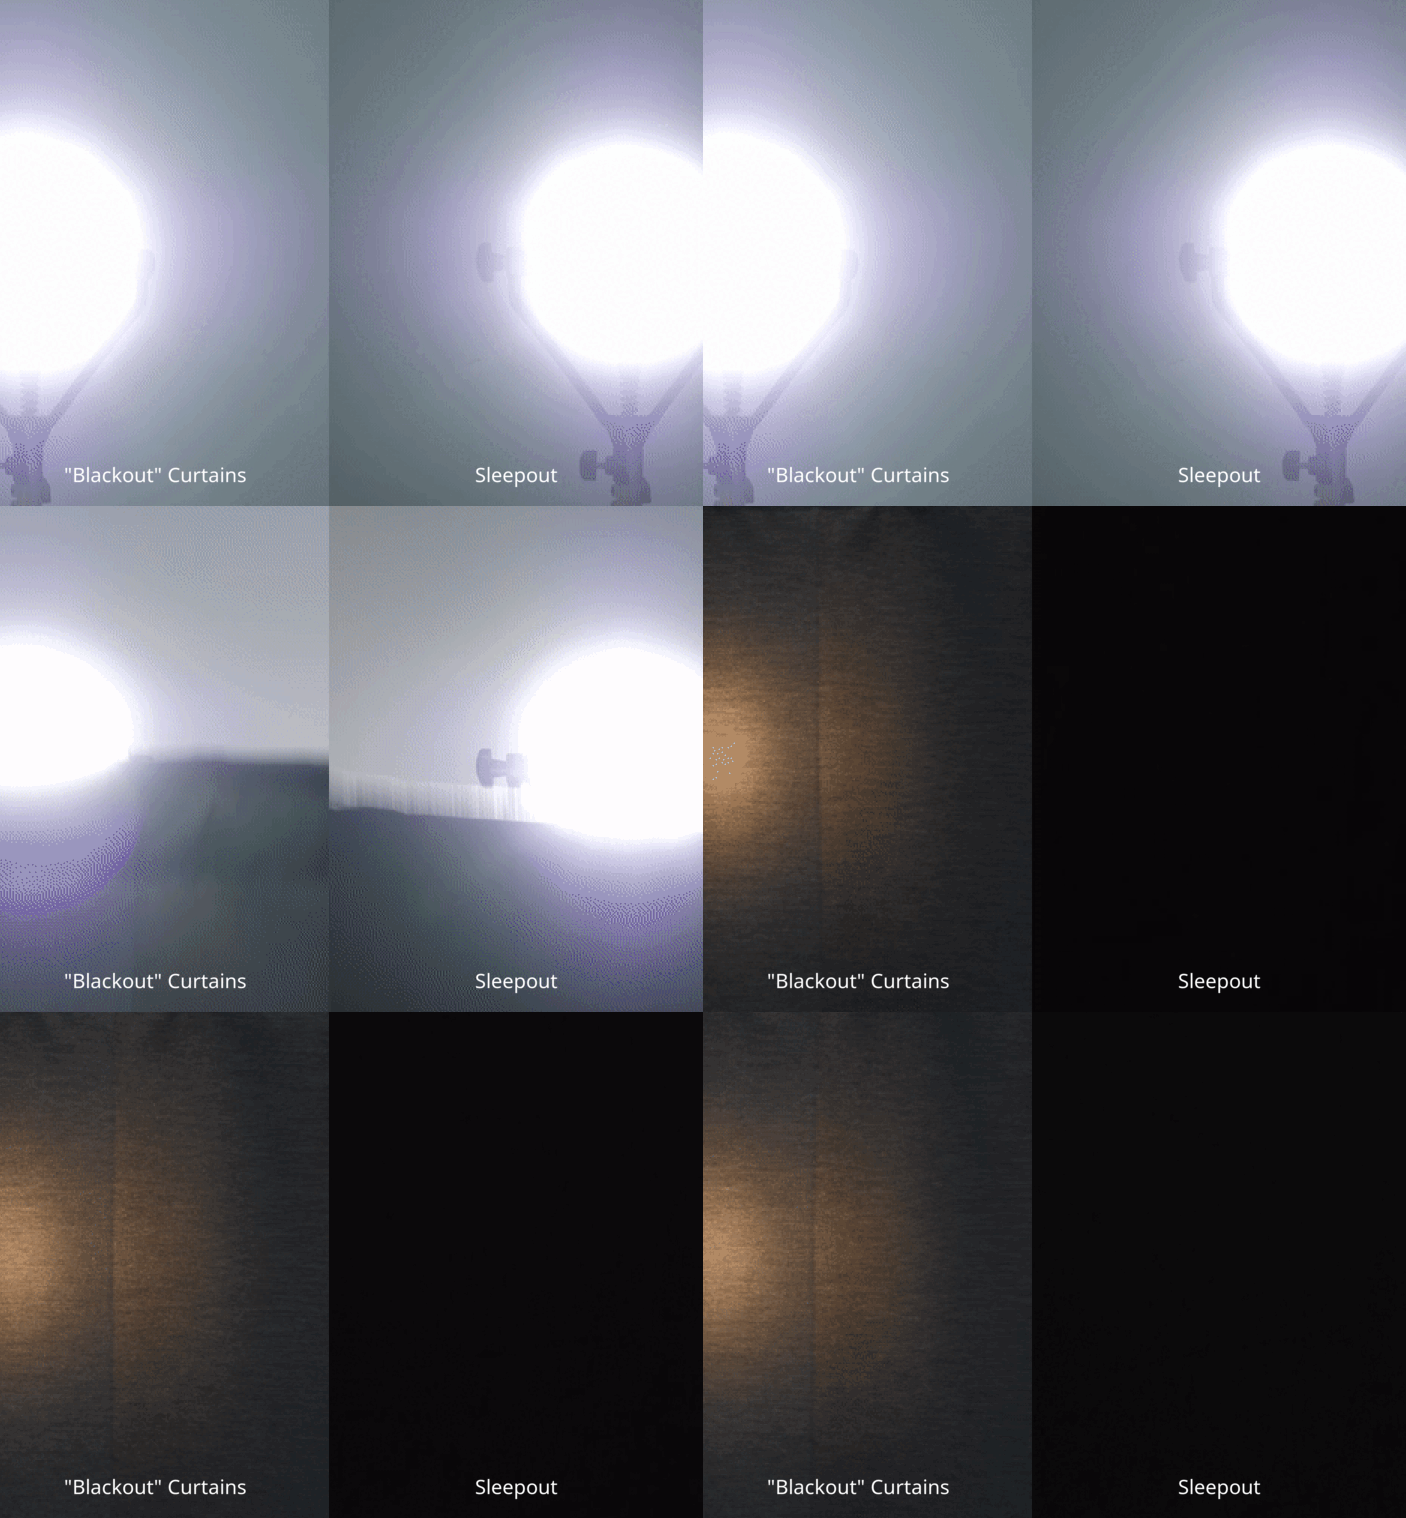
When it comes to enhancing your sleep quality and ensuring complete darkness in your room, blackout curtains are the go-to solution. However, the installation process can sometimes feel daunting. Fortunately, with blackout curtains designed with hooks, the installation process can be both quick and hassle-free. Let’s delve into the practical convenience of blackout curtains with hooks and provide a comprehensive guide on how to install them seamlessly in your home.
Why Choose Blackout Curtains with Hooks?
Blackout curtains with hooks offer a significant advantage due to their easy installation process. Here are a few reasons why they might be the perfect choice for your home:
- Simplicity: Hooks make it straightforward to hang and remove the curtains without the need for specialized hardware or tools.
- Versatility: Curtains with hooks are compatible with various types of curtain rods, allowing you to use existing hardware.
- Adjustability: It's easy to adjust the height and alignment of the curtains for a perfectly tailored look.
- Damage-free setup: Using hooks often requires minimal alterations to the wall or window frame, which is excellent for renters or temporary setups.
What You’ll Need
Before starting your installation, make sure you have all the necessary supplies:
- Blackout curtains with hooks
- Curtain rod
- Measuring tape
- Level (optional, for precision)
- Ladder or step stool
Step-by-Step Installation Guide
Follow these simple steps to install your blackout curtains with hooks:
- Measure Your Window: Properly measure the width and height of your window to ensure your curtains will cover the entire area without gaps.
- Install the Curtain Rod: If you haven’t already, securely mount the curtain rod above the window. Ensure it’s sturdy enough to support the weight of the blackout curtains.
- Attach Hooks to Curtains: Attach the hooks at the top of the blackout curtains. Ensure they are evenly spaced for a balanced look.
- Hang the Curtains: Hang the hooks onto the curtain rod. Adjust the curtains to spread evenly across the rod.
- Make Adjustments: Step back and check if the curtains are level and evenly spaced. Adjust as necessary to achieve the desired look and functionality.
It’s that simple! With these easy steps, your blackout curtains should be perfectly installed, providing optimal darkening and insulation benefits.
Choosing the Right Blackout Curtains with Hooks
When selecting blackout curtains, consider the following:
- Material: Look for high-quality, durable materials that effectively block out light.
- Size: Ensure the curtains are a few inches wider than your window for maximum coverage.
- Color and Style: Choose a color that matches your room's decor. Blackout curtains come in various patterns and styles to complement any interior.
To simplify your search, we recommend the Sleepout Portable Blackout Curtain. Not only does it provide 100% blackout in style, but it's also designed for tremendous ease of installation with hooks, making it a top choice for both convenience and effectiveness.

Conclusion IsValid_inode>
Blackout curtains with hooks are an excellent choice for anyone seeking a quick and effective way to eliminate light leakage in their bedrooms or any room requiring darkness. With the step-by-step guide provided, you should feel confident in tackling the installation process yourself. Once installed, you'll be able to enjoy uninterrupted sleep and the full benefits of your new blackout curtains.


